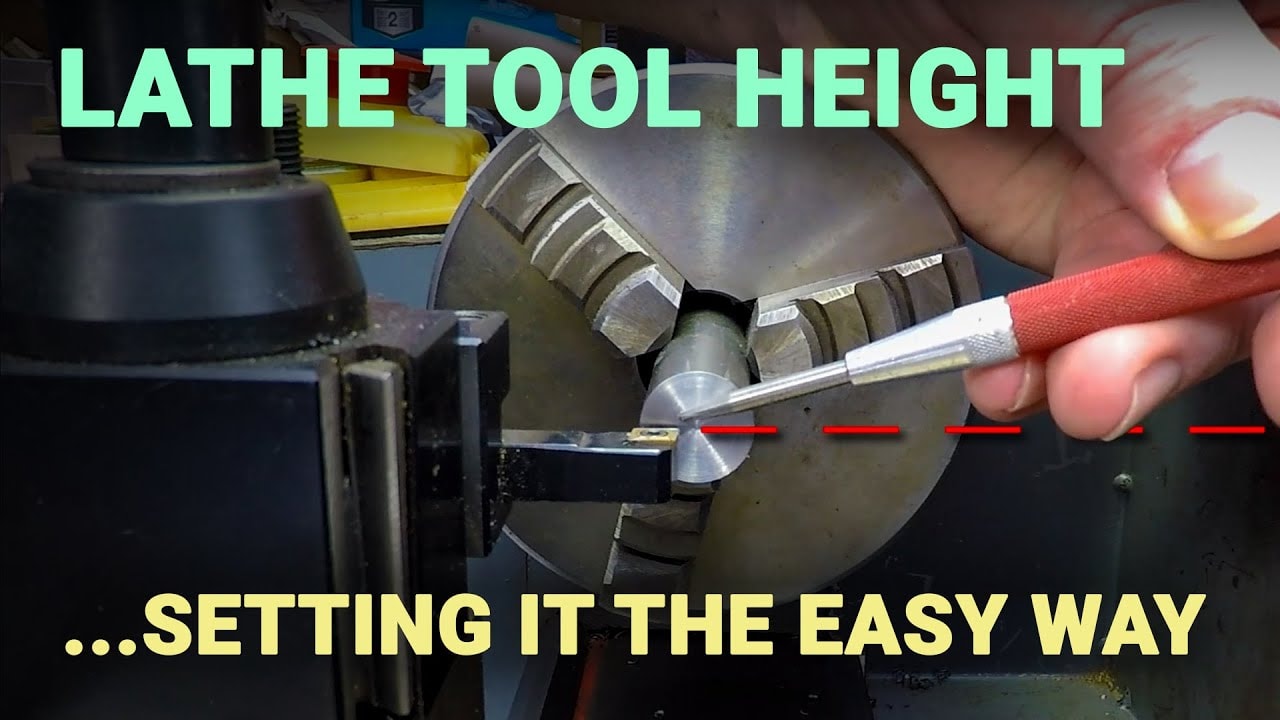

If you want to Easily set lathe tool height without faffing about with elaborate gadgets, this is a handy method to keep in your back pocket. It is quick, uses tools most lathe owners already have, and is especially useful in a home workshop where you just want to get on with the job.
It is not the last word in absolute precision, and I would not pretend otherwise. But for general home machining, setting a tool to centre height this way works very well. It is also particularly handy if you are using shims under a standard toolpost, because it gives you a direct idea of how much shim you need to add or remove instead of relying on repeated trial and error.
It also helps in those awkward situations where the usual tricks are not convenient. For example, if you are part way through a job and cannot simply face the end to check for a pip because the end is already faced, or bored out, or otherwise not suitable.
Why tool centre height matters
The aim is simple enough. You want the top cutting edge, or more specifically the tip of the tool, to be level with the centreline of the chuck and therefore the axis of the workpiece.
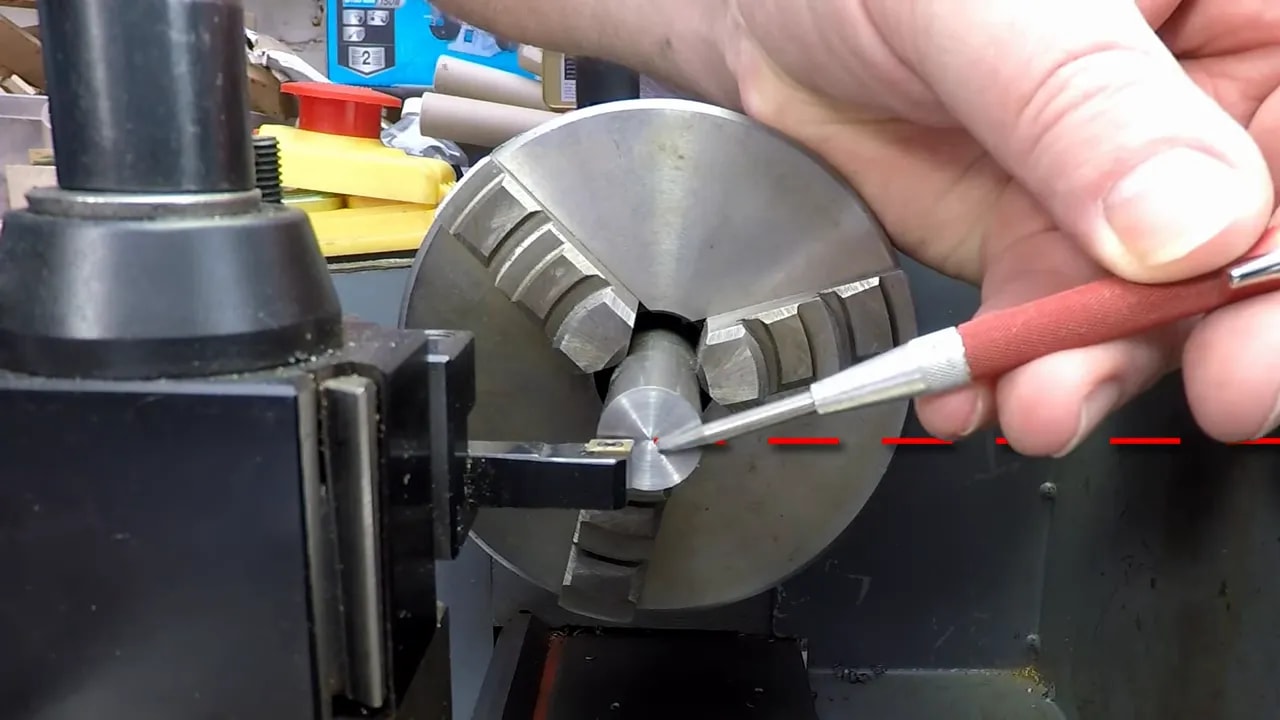
If the tool is too high, the cutter tends to rub rather than cut properly. If it is too low, that causes its own set of problems. In practical terms, you generally want the tool exactly on centre, or just a fraction below. Slightly low is usually preferable to slightly high.
What you need
The beauty of this method is that it uses kit that is likely already knocking about in the workshop.
- A piece of round bar held in the chuck
- A set of calipers with a depth probe, digital, dial, or vernier
- A means of adjusting tool height, such as shims or an adjustable toolpost
- A file to remove burrs from the end of the bar
If you do not have calipers, a depth micrometer will do the same job perfectly well.
The idea behind the method
The principle is straightforward. Measure the diameter of a round bar in the chuck, divide that figure by two, and then use the depth feature on your calipers to set the vertical distance from the top of the bar down to the top of the tool.
That half-diameter measurement represents the distance from the outside surface of the bar to its centreline. Match that to the tool height, and you are very close to centre.
Step 1: Put a decent size bar in the chuck
Use a piece of round stock that is large enough to measure easily. In the example here, the bar is 16 mm, which is just under three quarters of an inch.
A larger bar makes life easier because the half-diameter is less fiddly to work with and small measuring errors become a little less annoying.
Step 2: Deburr the end before measuring
Before taking any measurements, knock off any burrs on the end of the bar. If there is a raised burr, it can throw off the depth reading and make the whole exercise less accurate than it needs to be.
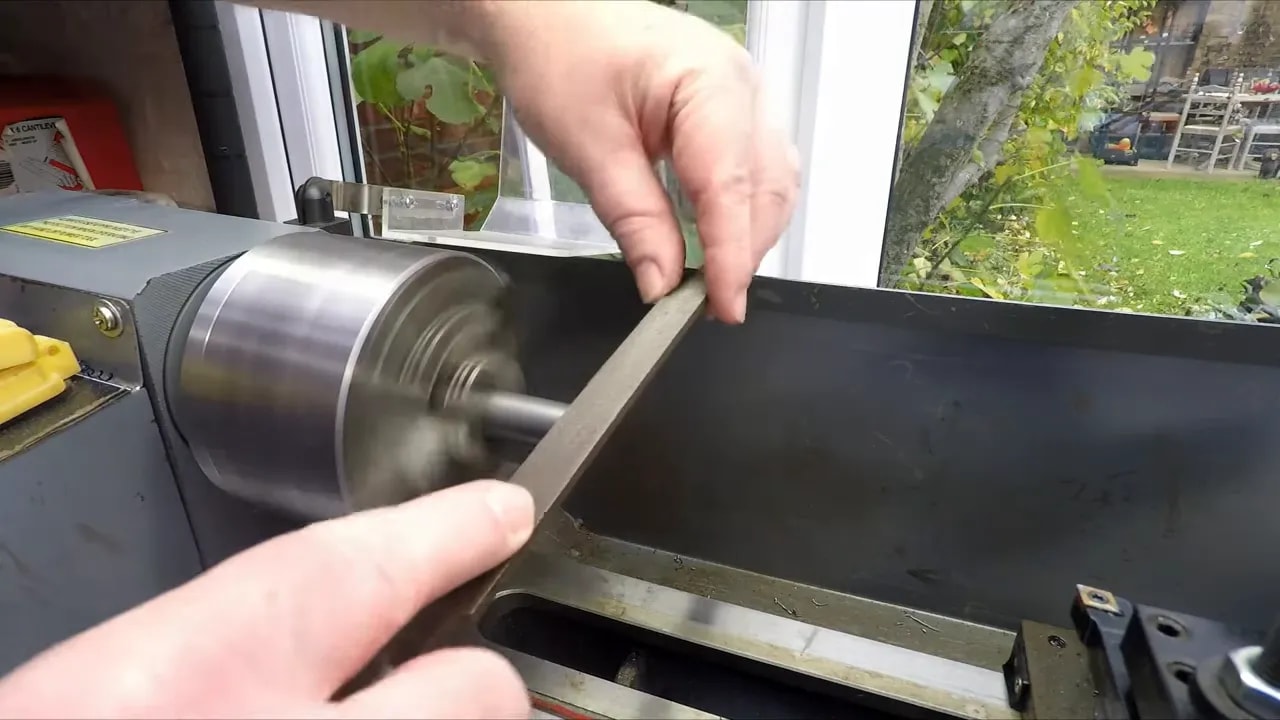
A quick touch with a file is all it takes. Nothing dramatic. Just make sure the measuring surface is clean and sensible.
Step 3: Measure the diameter and halve it
Measure the bar diameter with your calipers. Even if the stock is nominally 16 mm, it is worth checking the actual size rather than assuming.
In this example, the measured diameter is 15.96 mm.
Half of that is:
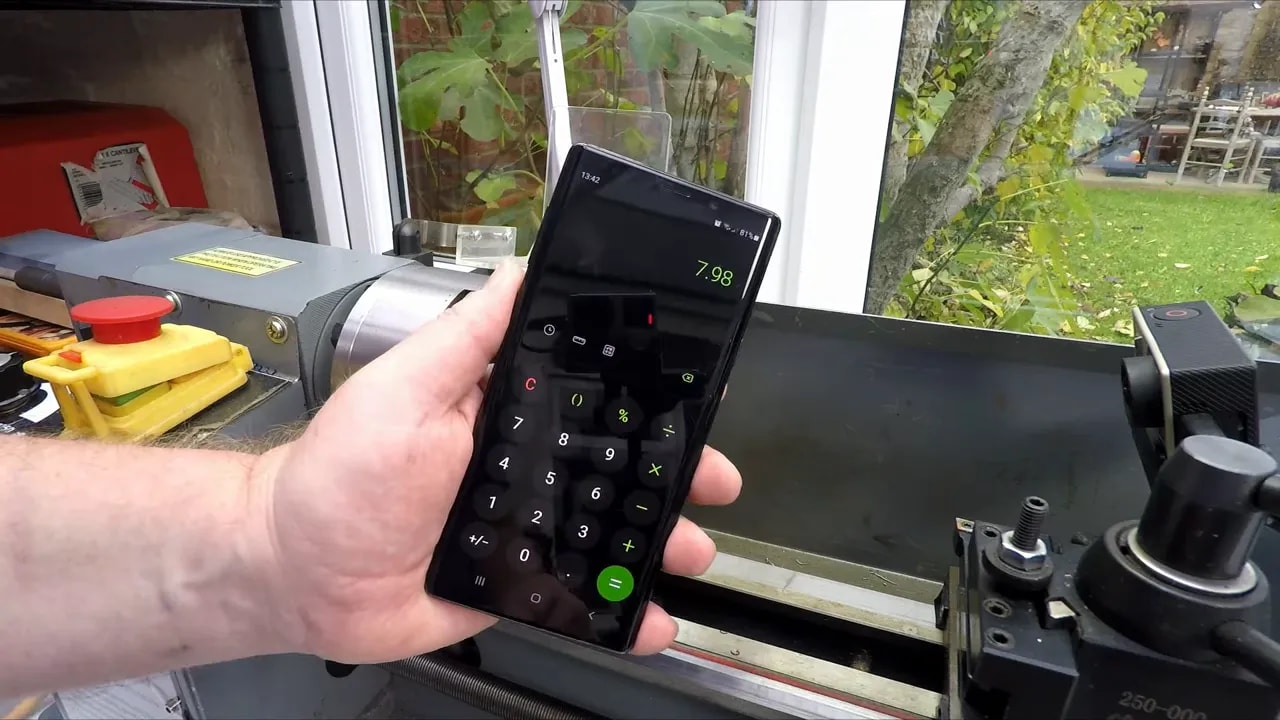
15.96 × 0.5 = 7.98 mm
So the target distance from the top of the bar down to the tool tip is 7.98 mm.
Step 4: Bring the tool up near the centre
Move the tool in so that the cutting tip is close to the centre of the bar, but not actually touching it. You want it near enough to measure cleanly.
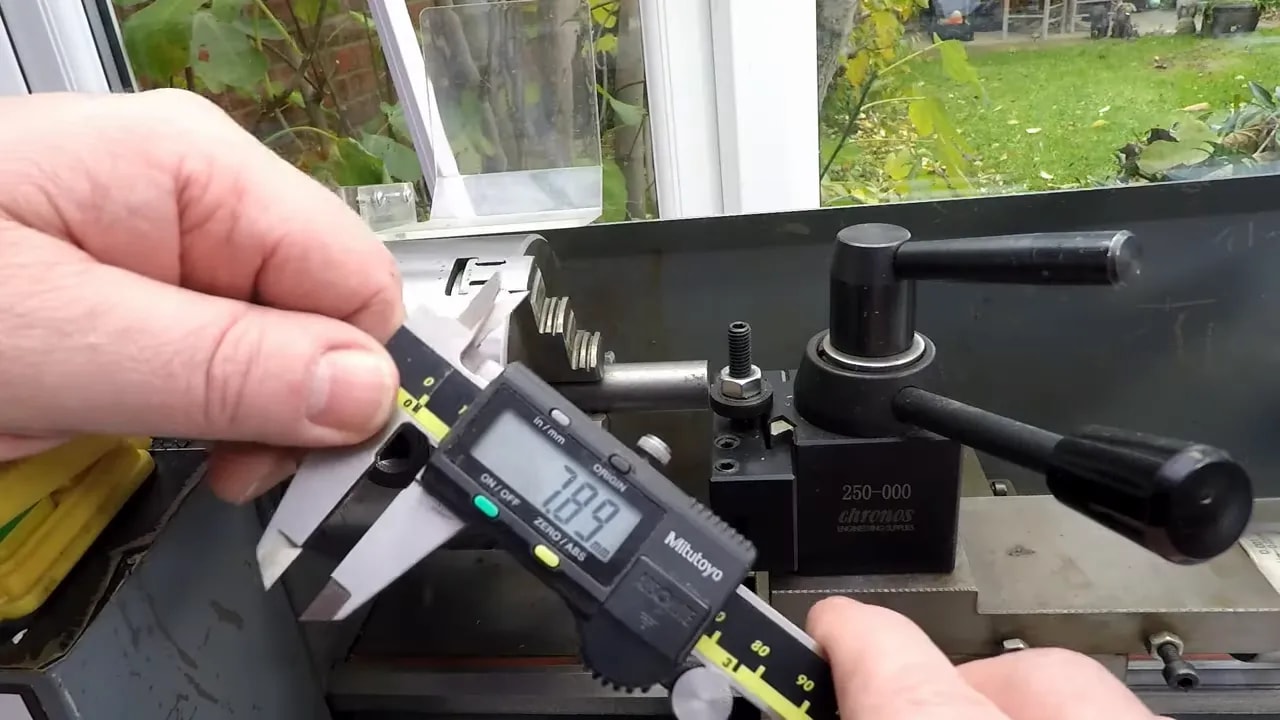
Then use the depth probe on the end of the calipers. Place the tip of the depth probe on the cutting edge of the tool, and lower the body of the calipers until it just touches the top of the round bar.
Try to keep the calipers as square as possible while doing this. You are only after a practical workshop measurement here, but a bit of care goes a long way.
Step 5: Interpret the reading
Suppose the calipers read 7.89 mm.
Your target was 7.98 mm, so the measured gap is too small. That means the tool is sitting a little too high. To correct it, you need to lower the tool until the measured distance increases to the target figure, or just a touch more.
After adjusting the tool and measuring again, the reading in the example comes out at 8.08 mm.
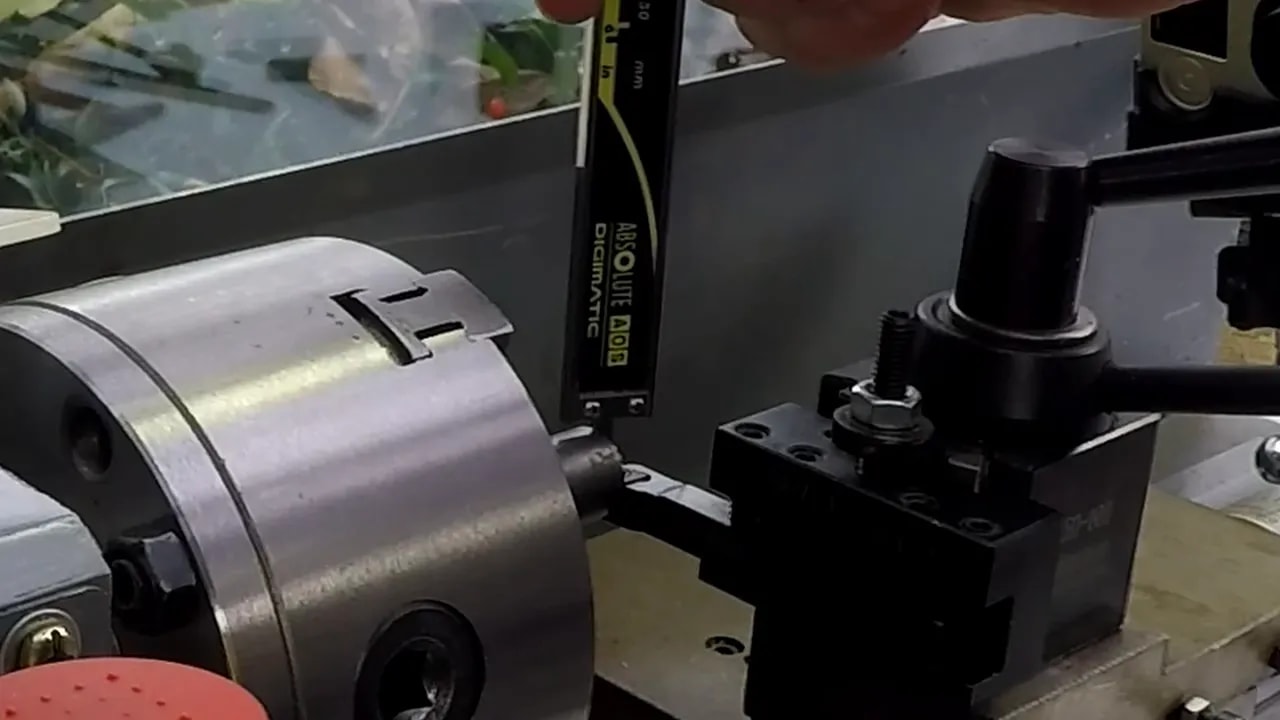
That places the tool about 0.10 mm below centre, which is perfectly acceptable for many jobs. In fact, slightly below centre is usually better than slightly above, so I would happily leave that there and crack on.
Why this is so useful with shims
If you are not using a quick change toolpost and instead rely on shims under the tool, this method is particularly handy because the measurement tells you roughly how far out you are.
If the tool is 0.2 mm too high, you know you need to remove about 0.2 mm of shim. If it is too low, you know how much to add. That is a lot quicker than the usual game of adding a bit, trying again, removing a bit, trying again, and quietly muttering at the lathe.
The main gotcha: chuck runout
There is one thing to watch with this method. If the bar is not running true in the chuck, the top surface you are measuring from will move up and down as the chuck rotates.
This is especially likely with a standard three jaw chuck. The work might have a bit of runout, which means at one point in the rotation the top of the bar is slightly higher, and 180 degrees around it is slightly lower. That obviously affects a depth measurement taken from the outside diameter.
Two ways to improve accuracy
1. Take a light skim from the outside diameter
The easiest fix is to turn the outside diameter until you get a continuous cut all the way around. Once you have done that, the surface you are measuring from is concentric with the spindle axis, and your half-diameter method becomes much more reliable.
If you do not mind removing a little material, this is the simplest solution.
2. Use a dial indicator to account for the runout
If you do not want to touch the outside diameter, the other option is to indicate the bar with a dial gauge.
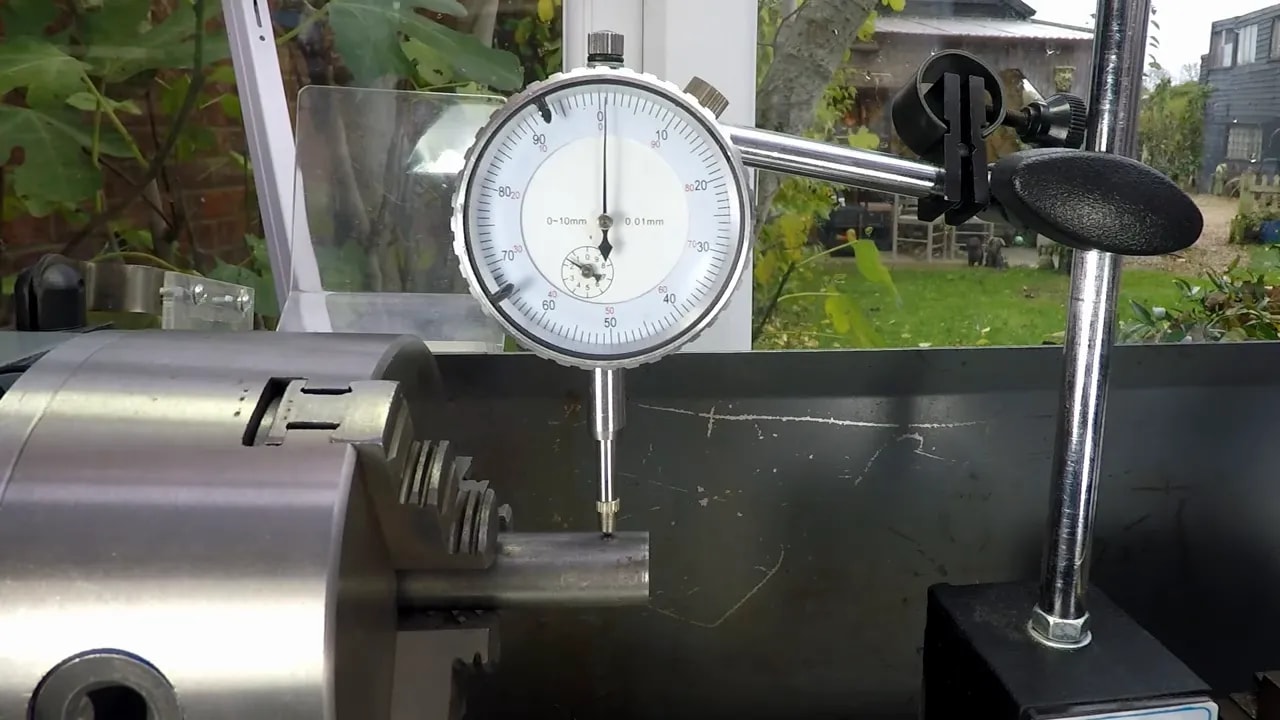
Set the dial indicator on the bar and rotate the chuck by hand to find the high and low points. In the example, the runout is around 0.12 to 0.14 mm, which is enough to affect the measurement.
Once you know where the high and low points are, bring the work round to a position that is midway between them, effectively 90 degrees from the high spot, or to where the reading is halfway between the extremes. Then take your depth measurement there.
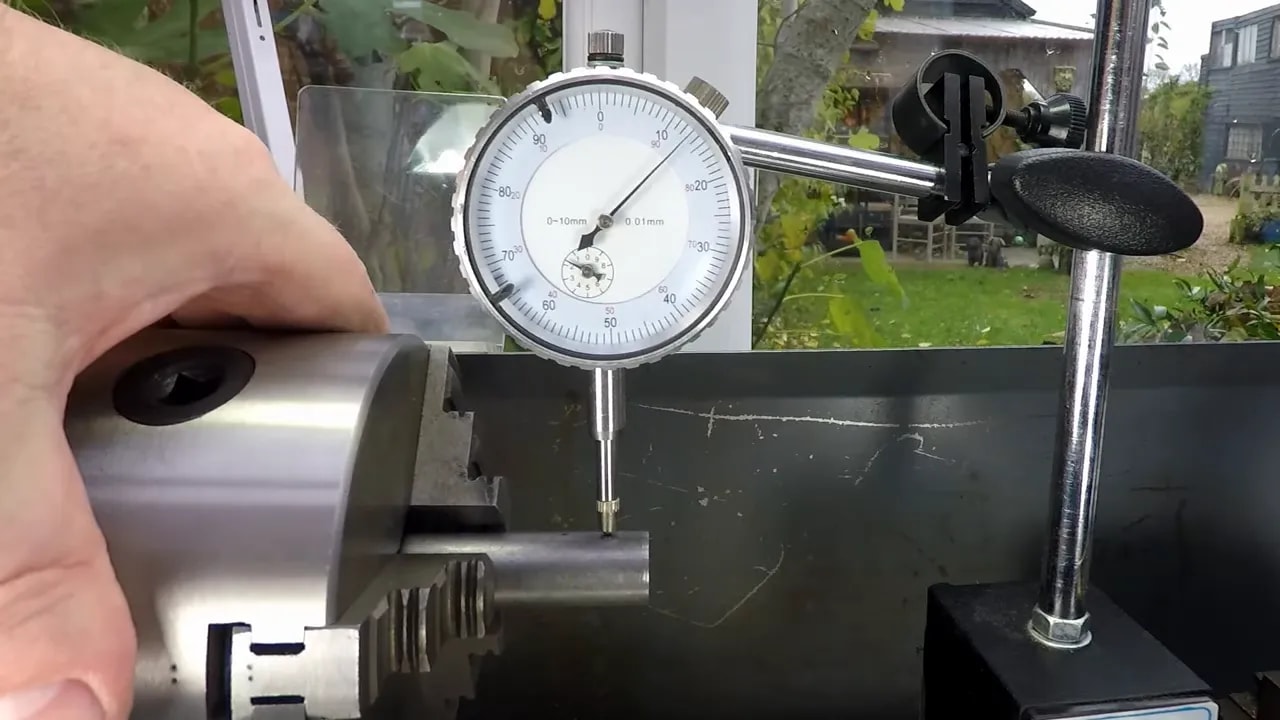
That removes the effect of the chuck runout from the tool height setting and gets you back to a sensible centre height.
When this method comes into its own
This is one of those workshop techniques that is worth remembering because it solves a very specific nuisance quickly.
- When you are using shims under a basic toolpost
- When you are part way through a job and cannot use the usual facing test
- When you want a practical result using basic measuring tools
- When you need to Easily set lathe tool height without much setup
A sensible level of accuracy for home machining
There are certainly more accurate ways to set tool height on a lathe. No argument there. But in a home workshop, not every job needs laboratory standards and a committee meeting before the first chip is made.
This method is fast, repeatable, and accurate enough for a lot of general turning work. If you are careful with your measuring, deburr the bar properly, keep the calipers square, and account for chuck runout where necessary, it does a very respectable job.
Quick recap of the process
- Chuck a piece of round bar of known or measurable diameter.
- Deburr the end so it does not upset the reading.
- Measure the diameter accurately.
- Divide that figure by two.
- Bring the tool up close to the work.
- Use the caliper depth probe from the top of the bar down to the tool tip.
- Adjust until the measurement equals half the bar diameter, or slightly more if you want the tool just below centre.
- If needed, correct for chuck runout by skimming the bar or using a dial indicator.
Final thoughts
To Easily set lathe tool height, you do not always need a dedicated centre gauge or a fancy setup. A bit of round bar, a set of calipers, and a few moments of careful measuring will get you very close very quickly.
It is not the only method, and it is not always the best method, but it is a very useful one to have in the repertoire. In a proper home workshop fashion, it gets the job done with ordinary tools and a minimum of messing about, which is often exactly what is needed.