
I have used a fair few rust treatments over the years, from old fashioned home-brew concoctions to the various bottles that promise miracles on the label. Bilt Hamber Deox-C Rust Remover is the one I keep coming back to. That may sound like a slightly peculiar thing to have a favourite of, but then I also have a favourite astrophysicist, so clearly the rot set in some time ago.
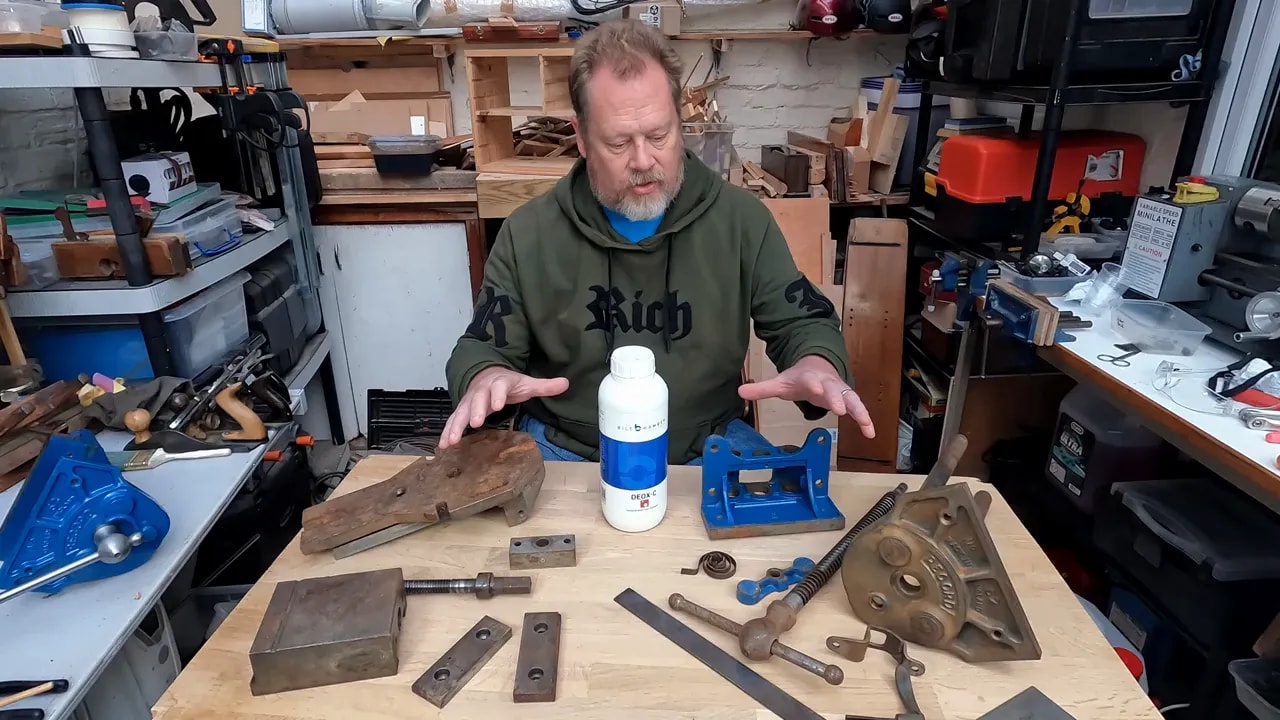
This is a practical test of Bilt Hamber Deox-C Rust Remover on a collection of rather sorry-looking vice parts, machine components, handles, screws and steel plates. The aim was not to create shiny showroom metal. It was to remove the rust without making a meal of the job, then leave the parts ready for cleaning, checking and rebuilding.
Why Bilt Hamber Deox-C Rust Remover Became My Go-To
The early rust converters were never a great favourite of mine. You painted on the milky liquid and it turned the visible rust black. The trouble was that it often dealt with the top surface while corrosion remained underneath, only to bubble back through later on.
For a long time, I used salt and vinegar. It is cheap, easy to find and does work, up to a point. But it is smelly, particularly with malt vinegar, and it can be unpredictable. I have put tools in overnight and come back to find that parts of them had been rather enthusiastically eaten away. That does tend to spoil one’s morning.
I have also tried Evapo-Rust. It worked, but I did not find it lasted particularly well once it had been used and stored. Here in the UK it is also expensive at roughly £20 per litre.
Bilt Hamber Deox-C Rust Remover, by comparison, is supplied as a powder. A kilogram costs about £20, and at the standard dilution it makes about 20 litres of working solution. That comes out at around £1 per litre, depending on how strong you mix it.
For me, the advantages are straightforward:
- It is economical because it is supplied as a concentrate powder.
- You can mix only as much as the job requires.
- You can alter the strength for lighter or heavier corrosion.
- The solution seems to keep working well when stored for reuse.
- It is effective on fiddly shapes that are awkward to wire brush.
I have had a small tub of Bilt Hamber Deox-C Rust Remover mixed up for around 18 months for small tools, and it has continued to do its job. It will not last forever, obviously, but it has been much better value than I expected.
How to Mix Bilt Hamber Deox-C Rust Remover
The standard recommended mix is one part Deox-C powder to 19 parts water. You can measure by weight or volume, but there is a handy shortcut: one litre of water weighs one kilogram. That means it is easy to measure the water by volume and the powder by weight.
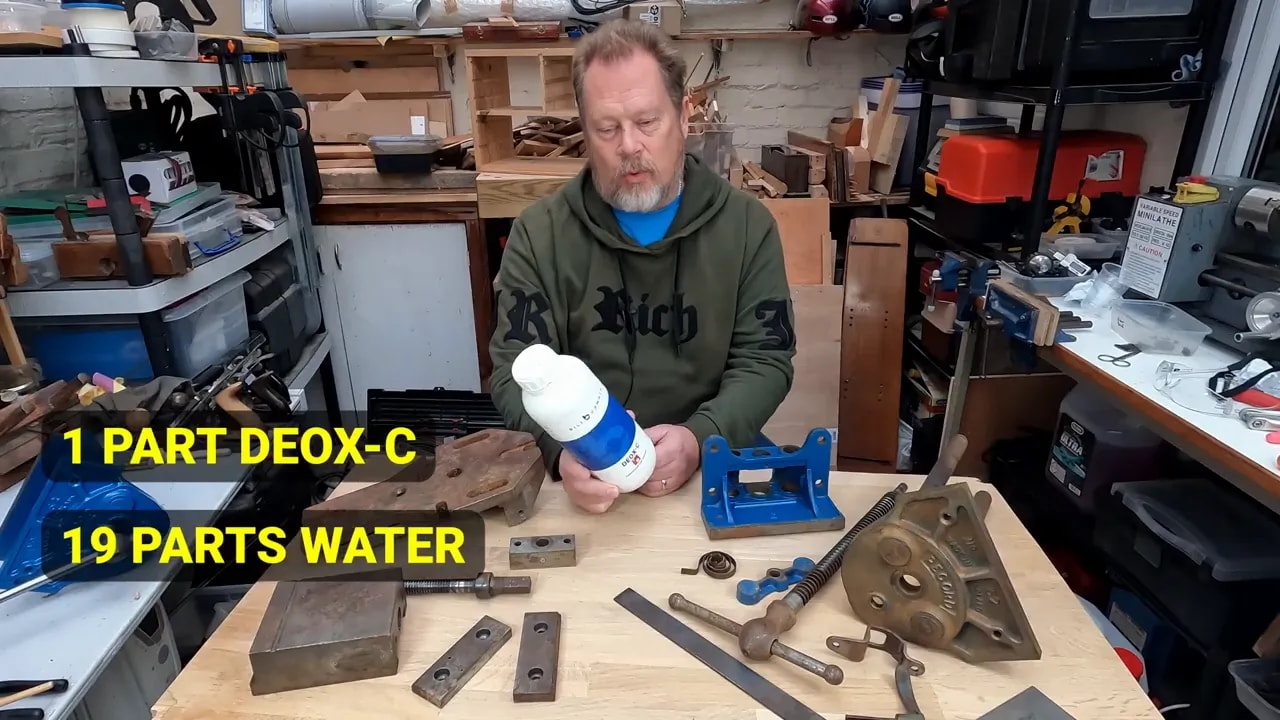
For ordinary workshop rust, I use the weakest suggested mix, 1:19. It is generally enough for an overnight soak and is the sensible place to start. If you have a truly horrible, heavily rusted lump of iron, you can make it stronger, up to one part powder to four parts water.
A practical five-litre mix
For this job, I needed five litres of solution. The calculation works like this:
- Five litres of water equals 5,000 grams.
- Divide by 19, which gives approximately 0.052.
- Multiply 5,000 by 0.052.
- You need about 263 grams of Deox-C powder.
In reality, I weighed out 269 grams because that is where the powder stopped falling nicely from the container, and life is too short to worry about six grams in five litres. It worked perfectly well.
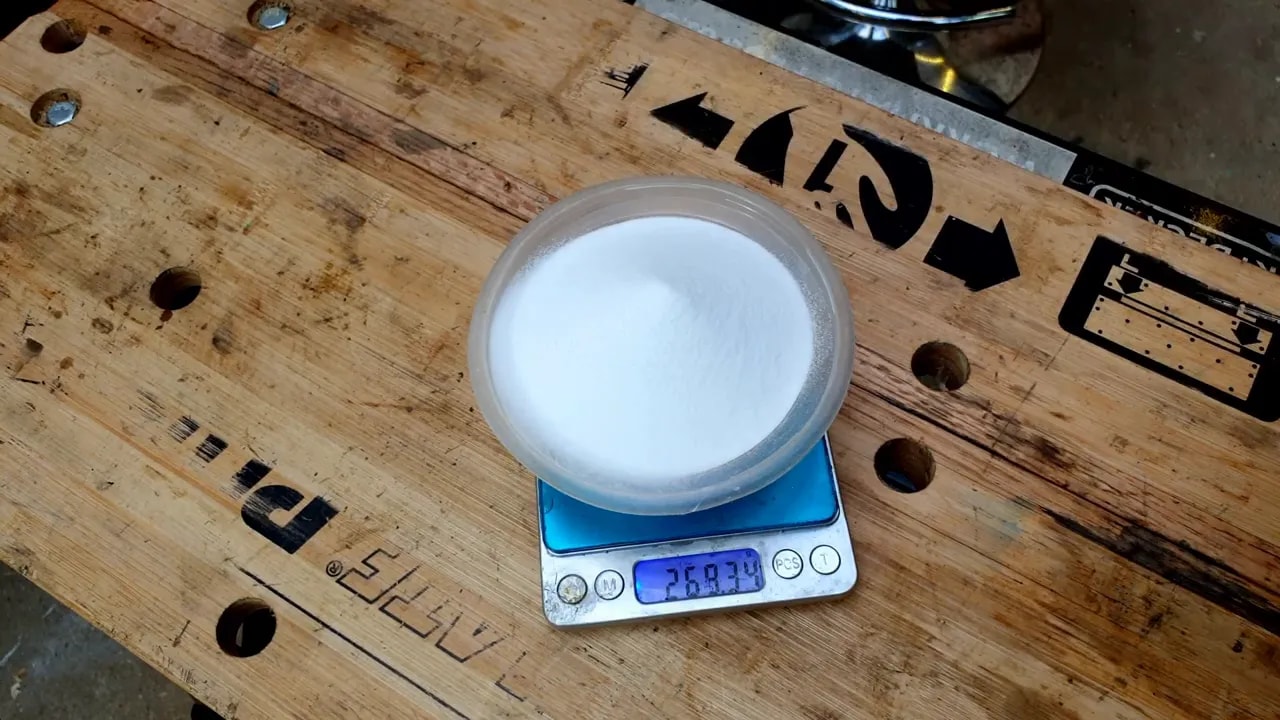
Add the powder to the water and stir until dissolved. Cold water works, but it takes a while. Mine took about 10 minutes to dissolve fully. Hot water helps it dissolve more quickly, and the product guidance allows water up to 90°C, although it is worth checking the current label before proceeding.
Basic Safety in the Workshop
The product is described as non-toxic and biodegradable, but that is not an invitation to treat it as orange squash. It is still a chemical product, and it should absolutely not be drunk.
I wore gloves and safety glasses while mixing and handling the solution. It is simply sensible workshop practice. Read the label, understand the instructions and follow the safety information before using Bilt Hamber Deox-C Rust Remover.
Loading the Rusty Parts
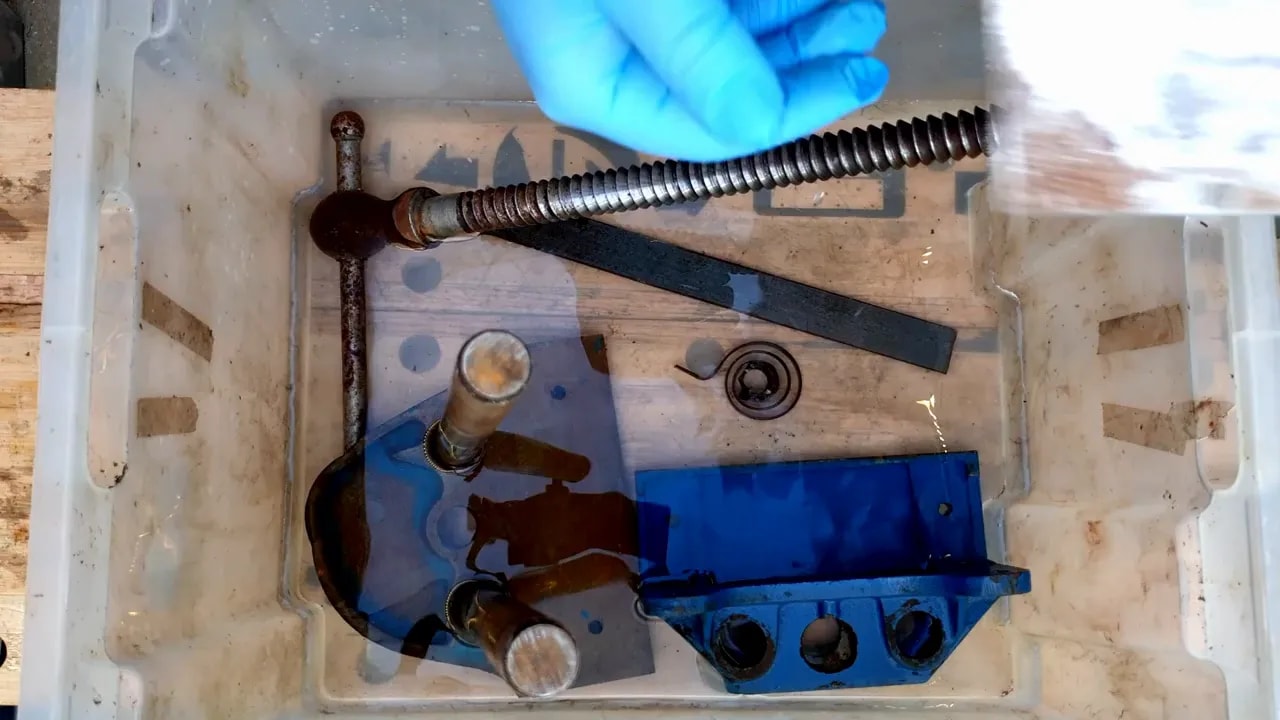
I had quite a selection to get through: parts from a Record vice, sections of a milling vice, a lead screw, handles, plates and a large steel sliding section. The first five litres did not quite cover everything, so I added another five litres of previously used solution.
For larger parts, full immersion matters. If a component is only partly submerged, turn it over later so the solution can reach the other side. The legs of one vice could not fit completely under the liquid at first, so they were flipped and given another soak later on. It is basically a small game of workshop Tetris, only wetter.
What Happened After Five Hours
After around five hours, the previously clear solution had gone a greenish-yellow colour and there was mild fizzing on the surface. It also developed a faint metallic, slightly sulphury smell. Nothing dramatic, but it was clear that something was happening.
The important thing to remember is that de-rusted steel will not necessarily emerge bright and shiny. It tends to look dull grey. That is normal. Do not mistake a grey, pickled surface for remaining rust.
The lightly rusted parts cleaned up very quickly. A small nut-box cover and plate were effectively done after five hours, with only old label residue remaining. The milling vice base cleaned up nicely too, and the lead screw was close to finished.
More heavily rusted parts still needed longer, but the rust was clearly loosening and could be brushed away while wet. A quick agitation or a light brush helps lift the softened surface rust so the solution can continue working.
Soaking Time: Start Gently and Check Progress
There is no single perfect soaking time for every part. It depends on the amount of rust, the thickness of the component, the strength of the mix and whether all surfaces are immersed.
My results from the standard 1:19 solution were roughly as follows:
- Light surface rust: around five hours was enough for several parts.
- Moderate corrosion: five hours plus brushing and another couple of hours.
- Large or heavily rusted parts: left overnight after the first inspection.
The sensible approach is to inspect as you go. There is no point leaving a component in longer than necessary just because the clock says it has not reached a particular hour.
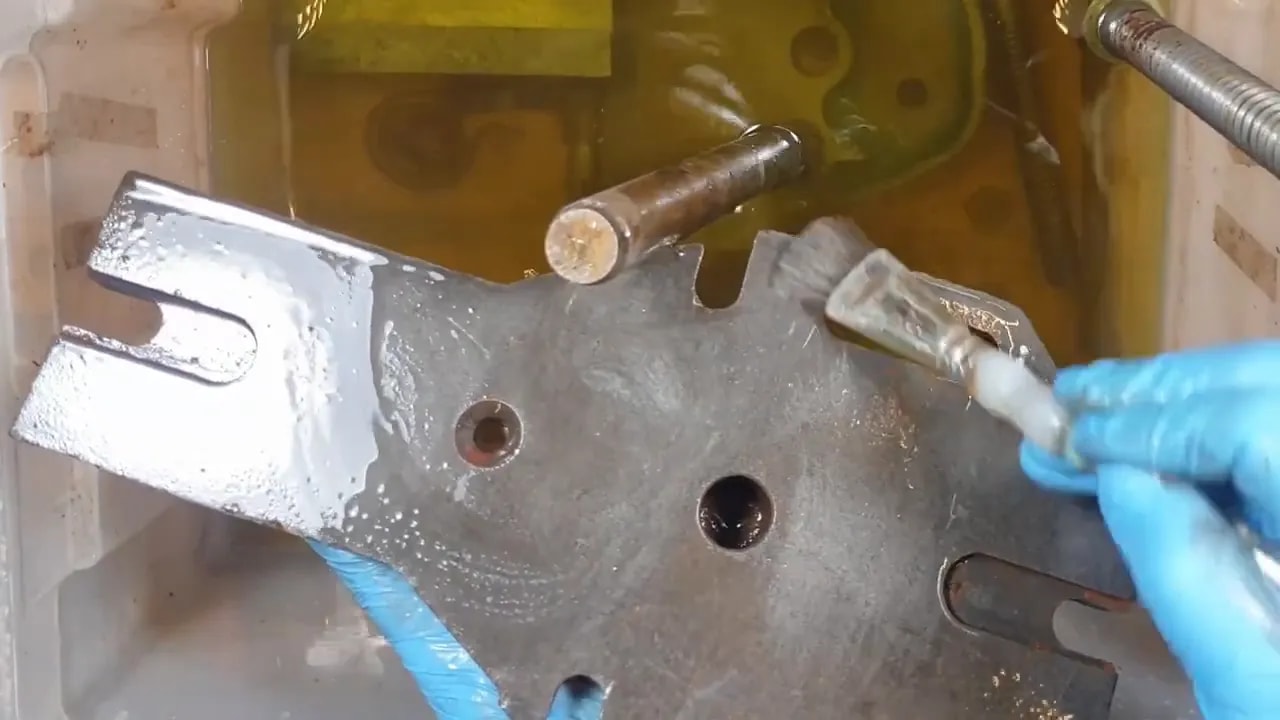
For stubborn patches, I used a small brush while the parts were still in the bath. This shifted the loosened debris without turning the job into an afternoon of aggressive wire brushing.
The Results After an Overnight Soak
The next day, the transformation was very satisfying. The vice parts, handles and plates had lost the rust without losing their character. The large milling vice base, which had been decidedly grotty beforehand, was clean enough to inspect and prepare for reassembly.
The smaller steel parts came out particularly well. Stamped numbers on the vice legs were visible again, and the parts needed little more than lubrication and a check for burrs.
There was some flash rust on a few areas after rinsing and drying, particularly on the sides of the milling vice. That is just something to be aware of with freshly cleaned bare steel. Once rust has been removed, do not leave the part sitting about in a damp shed while you make a cup of tea and forget about it.
Expect a Dull Grey Pickled Finish
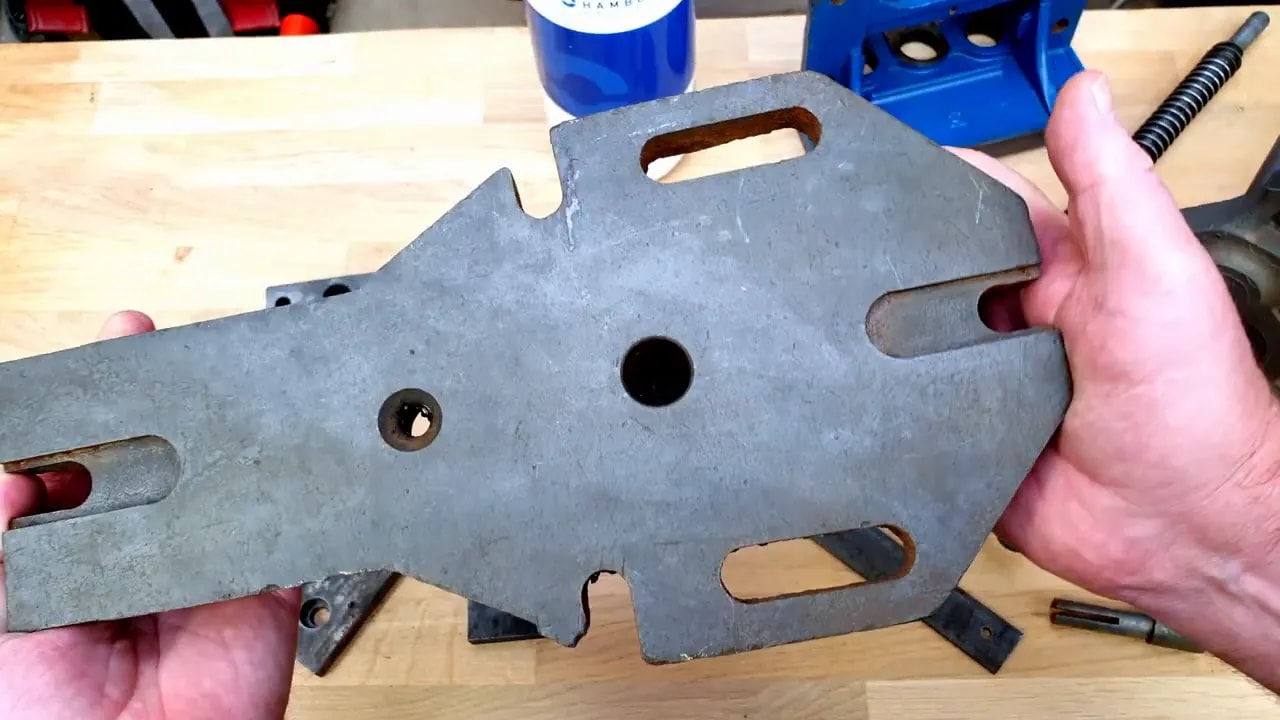
Bilt Hamber Deox-C Rust Remover leaves steel with a slightly dull, grey, pickled appearance. For machine parts, that does not bother me in the slightest. It means the rust has gone, and the part is ready for the next stage.
If you want a brighter finish, a quick rub with emery cloth or other fine abrasive will bring it up. For sliding or precision surfaces, I would also check for burrs and stone them carefully where needed. The rust remover is not a substitute for inspection, cleaning or correct machine maintenance. It simply gets you back to good, clean metal without an enormous amount of grief.
My Verdict on Bilt Hamber Deox-C Rust Remover
Bilt Hamber Deox-C Rust Remover has earned a permanent place in my workshop. At the standard dilution it worked steadily and effectively on a varied pile of rusted vice components, from delicate small fittings to substantial cast and machined pieces.
It is affordable, easy to mix, flexible in strength and long-lasting in use. Most importantly, it gives predictable results. I would rather leave a part soaking overnight in a known solution than gamble on whether a tub of salt and vinegar is going to clean it or quietly consume it.
The parts are now ready for a little final cleaning, lubrication, checking and the enjoyable business of rebuilding a couple of vices. Well, enjoyable is perhaps a strong word, but it beats staring at rusty lumps on the bench.