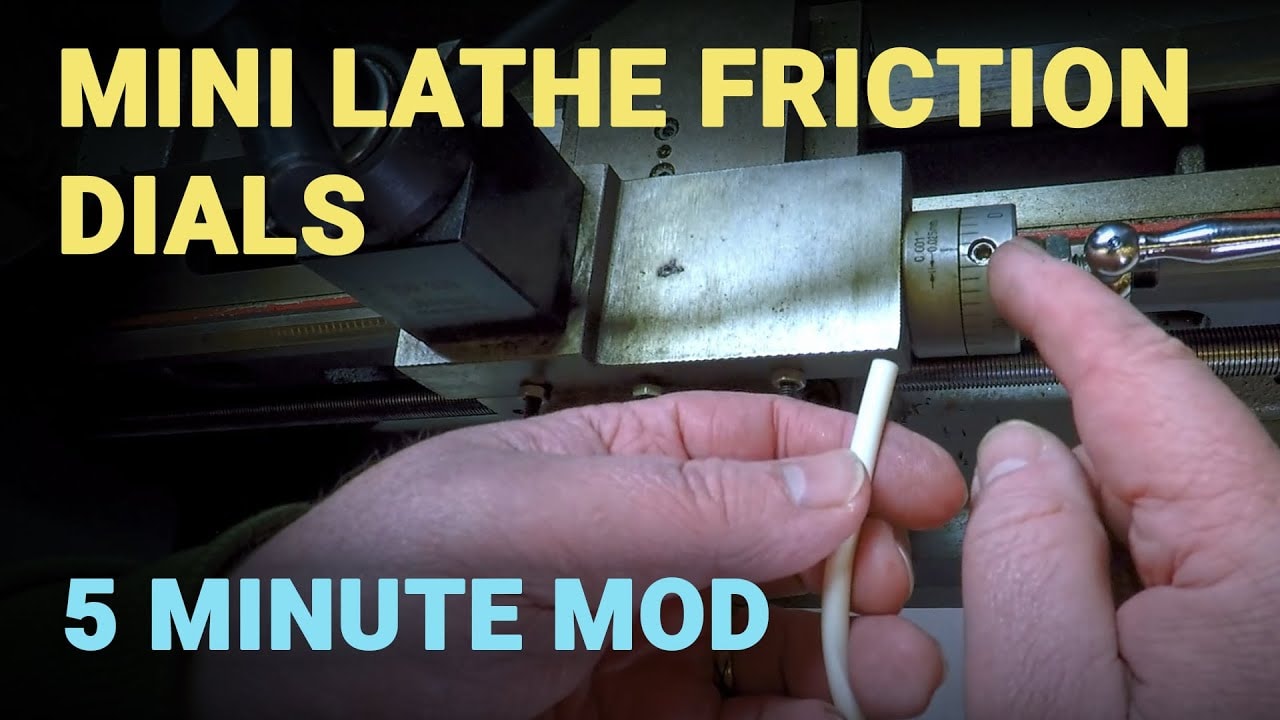

If you want to Upgrade mini lathe friction dials without turning it into a heroic engineering project, this is one of those little jobs that pays back immediately. It is not a massive fault, and the lathe will certainly work as supplied, but it is exactly the sort of small irritation that gets under your skin every time you use it.
On many of the common Chinese mini lathes, the cross slide and compound dial are locked with a grub screw. That means instead of simply turning the dial to zero by hand, you have to faff about with an Allen key, loosen the screw, reposition the dial, then tighten it again while trying not to move everything else. It is clumsy, slow, and frankly a bit daft.
The good news is that the fix is simple. Five minutes, a tiny plug of plastic or silicone, and the dial behaves much more like it ought to.
This approach applies to machines such as the CJ0618, Crenex 7×14, Clarke CL300M, Warco mini lathe, Sieg C2, and plenty of other variants based on the same basic design.
What is wrong with the standard dial arrangement?
On a full size lathe, the usual arrangement is a friction dial. You hold the handle, rotate the graduated collar by hand, set it to zero, and carry on. Simple. That is how it should be.
On these mini lathes, the dial is fixed with a grub screw. So if you touch the tool off on the work and want to zero the dial so you can measure the next cut, you cannot just turn the collar. You have to:
- find the grub screw hole
- get the Allen key in there
- hold everything still
- loosen the screw
- move the dial to zero
- tighten it back up again
And of course, while you are doing that, the thing you were trying not to move has a nasty habit of moving anyway. That rather defeats the point.
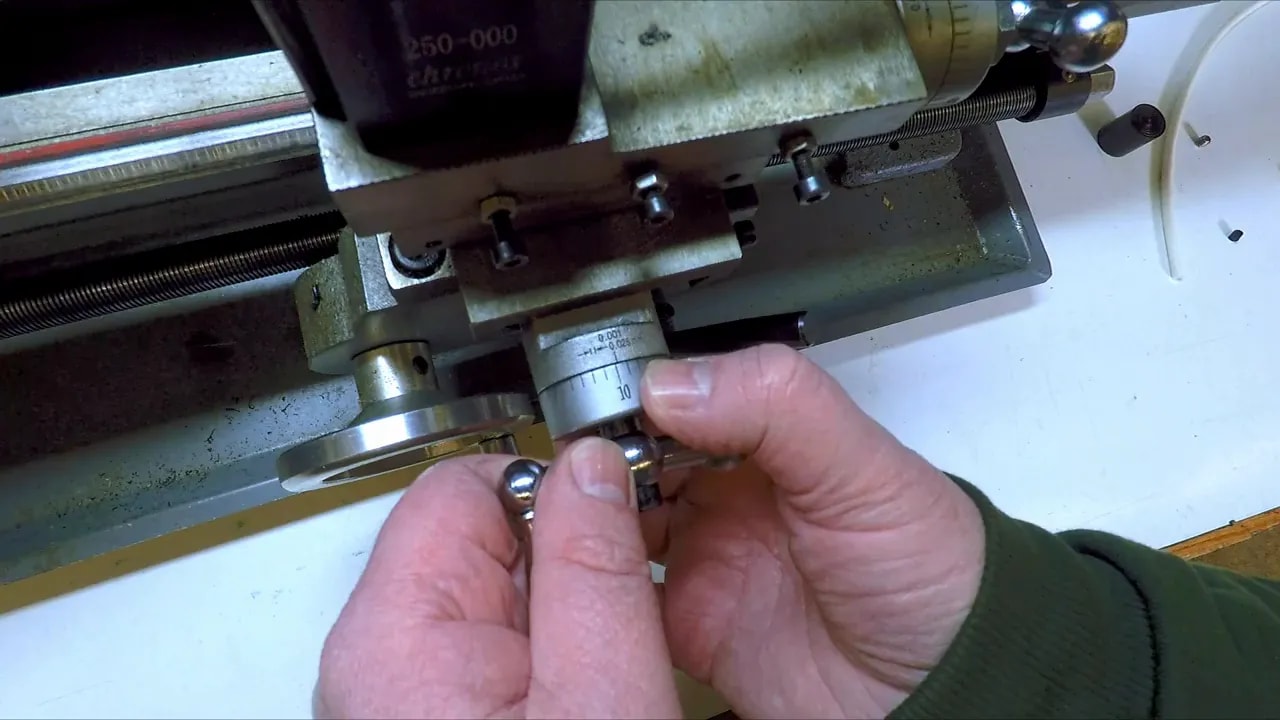
The simple idea behind the fix
The aim is to make the dial act like a friction fit instead of a hard lock.
Rather than having the grub screw bear directly on the shaft, you put a small plug of suitable material in the hole first. The grub screw then presses the plug against the shaft. Tighten it just enough and you get a nice controlled drag. The dial stays where you put it in use, but you can still turn it by hand when you want to reset it.
That is all there is to it.
Why the original grub screw is not ideal
There is another small annoyance with the supplied screw as well. It is relatively long for the job, and it has a pointed end. So if you keep tightening it directly onto the shaft, there is every chance it will dig into the metal and mark it up.
That is not doing the shaft any favours, and it does nothing to help the dial behave better either.
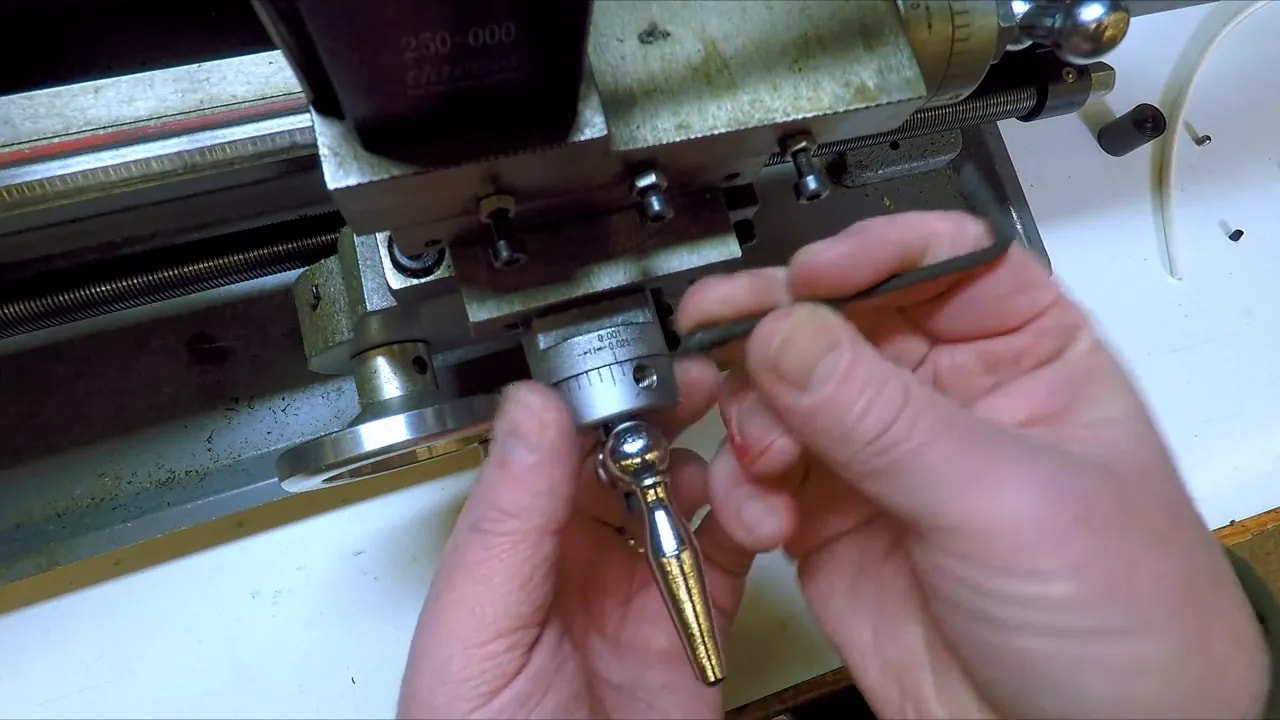
What you need
To Upgrade mini lathe friction dials this way, you only need a few bits:
- the existing dial with the grub screw removed
- a small plug made from acetal or nylon
- optionally, a shorter grub screw with a flat end
- an Allen key
The plug used here was:
- 5 mm diameter
- 5 mm long
Acetal is a good choice because it is fairly hard but still slightly forgiving. Nylon should also do the job nicely.
Acrylic is not suitable. It is too brittle and likely to crack or shatter, which is not what you want in a little compression plug.
How to make the friction dial conversion
1. Remove the original grub screw
Back the screw out completely and set it aside. If you have a better replacement, particularly a shorter flat-ended grub screw, now is the time to use it.
2. Make a small plastic plug
Turn or cut a short length of acetal or nylon rod so that it fits the hole neatly. In this case, a plug 5 mm in diameter and 5 mm long was ideal.
3. Drop the plug into the dial hole
Simply pop the little plastic slug down the same hole the grub screw came out of.
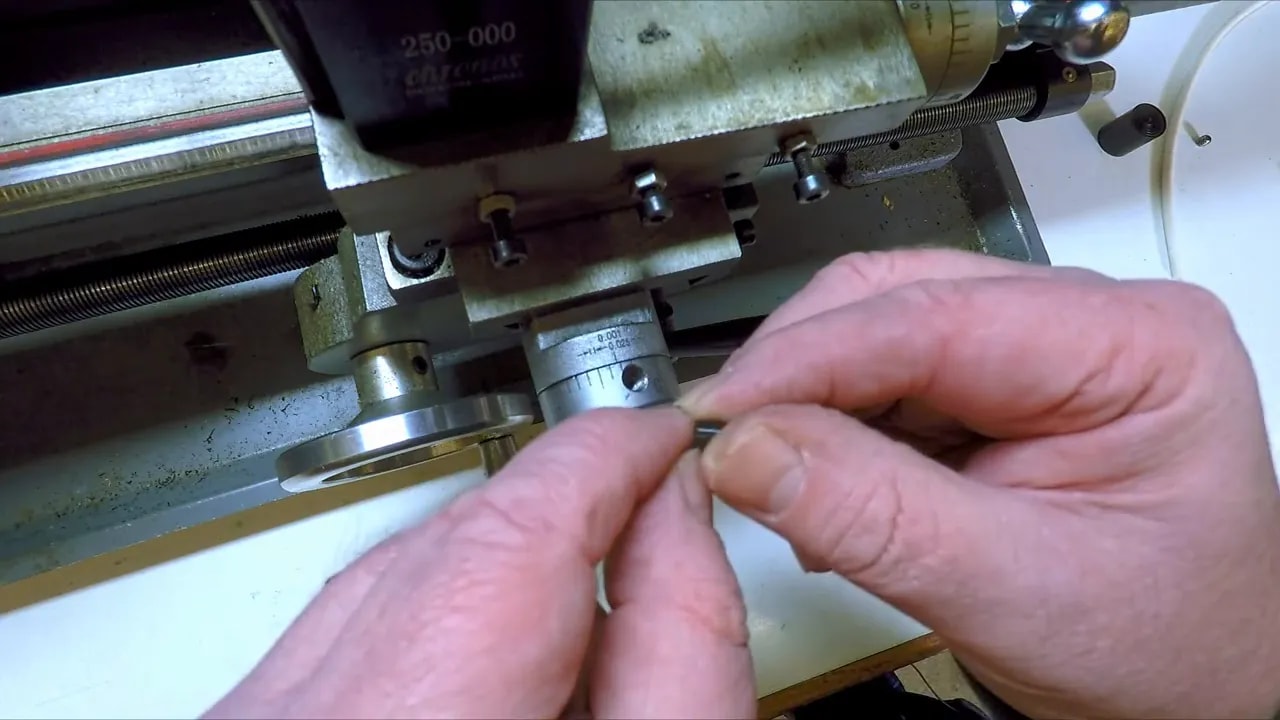
4. Fit the grub screw
Screw it in until it begins to compress the plug against the shaft. Do not wind it in like you are tightening wheel nuts on a lorry. The whole point is to create friction, not lock it solid.
5. Adjust the drag
Hold the handle and try turning the dial by hand. If it is too loose, nip the screw up slightly. If it is too stiff, back it off a touch.
You want enough friction that the dial does not drift round while you are machining, but not so much that you need pliers and bad language to reset it.
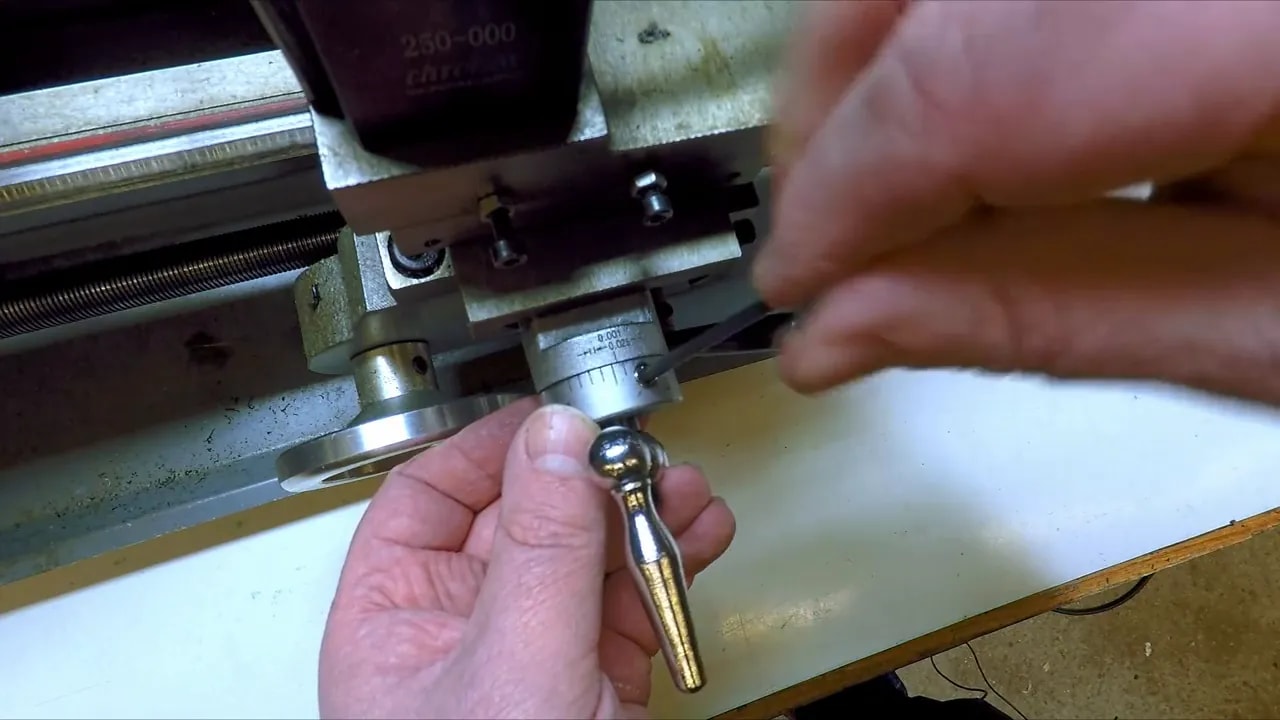
How it works in use
Once set correctly, the dial behaves much more sensibly. Touch the tool off on the job, hold the handle, rotate the dial to zero with your fingers, and carry on. Any time you want to re-zero it, you simply do the same again.
No hunting for the screw hole. No Allen key gymnastics. No trying to hold three things still at once.
That is what makes this little modification worthwhile. It transforms a mildly irritating feature into something perfectly usable with almost no effort.
An alternative material: silicone cord
If you have not got acetal or nylon to hand, there is another option. A short piece of 5 mm silicone cord also works.
The same method applies:
- remove the grub screw
- cut a 5 mm long piece of silicone cord
- drop it into the hole
- tighten the screw until you get the friction you want
This was used on the compound slide dial, and it gives a very similar result.
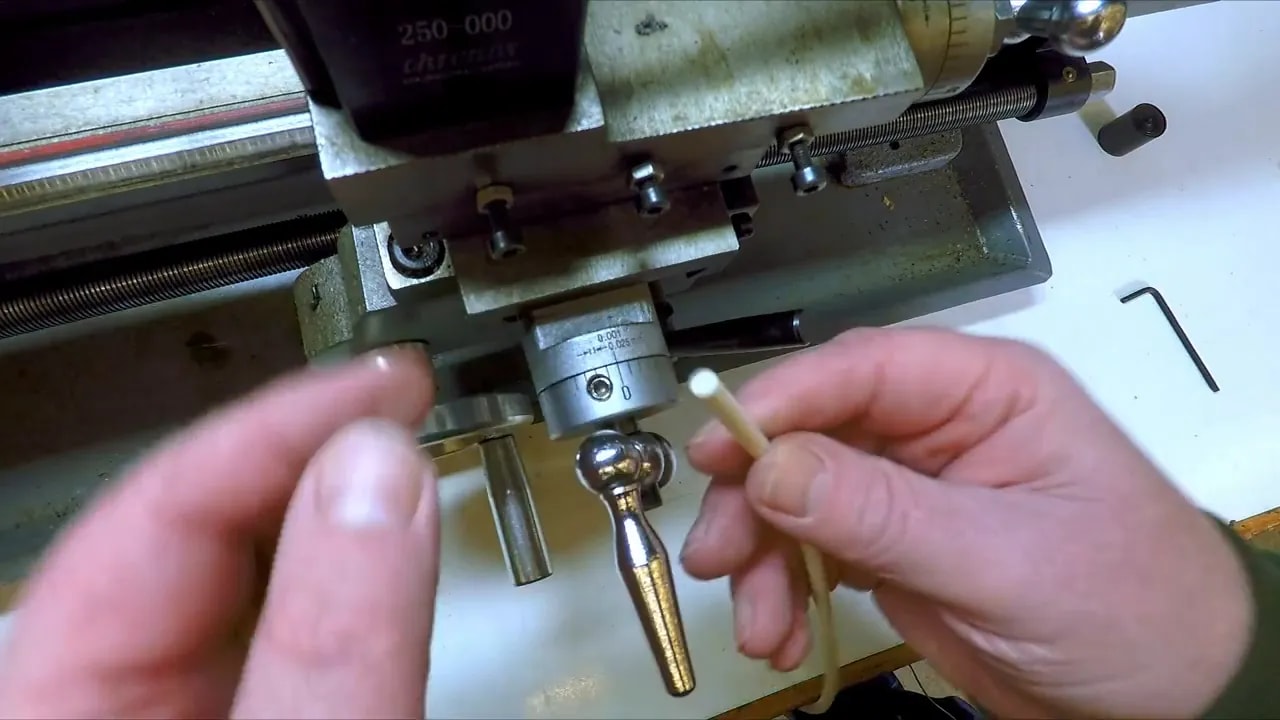
The one difference with silicone
Silicone has a slight spring to it. In practice that means when you rotate the dial to a line and let go, it may spring back very slightly. We are talking about perhaps the width of a graduation line, hardly anything at all.
For this purpose it still works perfectly well, but if you want the crispest feel, the harder plastics are probably the nicer option.
Tips for getting it right
- Do not over-tighten the screw. You are after controlled friction, not a locked dial.
- Use a flat-ended grub screw if possible. It is kinder to the plug and the shaft.
- Choose a material with a bit of toughness. Acetal and nylon are good. Acrylic is not.
- Test the dial in use. If it creeps during machining, tighten slightly. If it is awkward to reset, loosen slightly.
Why this tiny job is worth doing
These are the best sort of workshop improvements really. Not glamorous, not complicated, and not the sort of thing that needs a four-hour build series and dramatic music. Just a small, practical tweak that makes the machine nicer to use every single time.
If your machine has the usual fixed dials with grub screws, this is a very easy way to Upgrade mini lathe friction dials and bring the controls a bit closer to how a proper full size lathe feels.
It is cheap, quick, reversible, and genuinely useful. Hard to argue with that.
Compatible mini lathes
This fix suits many of the common mini lathes based on the standard Chinese design, including:
- CJ0618
- Crenex 7×14
- Clarke CL300M
- Warco mini lathe
- Sieg C2
- and similar rebranded machines
Final thought
If a machine irritates you in the same way every time you use it, and the cure takes five minutes, it is probably worth doing. This is one of those jobs. A tiny plug, a small adjustment, and your dials become far more civilised.
For such a modest effort, this is an excellent way to Upgrade mini lathe friction dials and make day-to-day turning that bit less fiddly.