
If you want to know how to sharpen a drill bit without dragging out a bench grinder, this is a simple little workshop method that works surprisingly well. It is not meant to replace proper grinding for badly damaged drills, and it is not about producing some mythical perfect drill point fit for aerospace work. It is about getting a dull bit that is rubbing more than cutting back into useful shape with basic kit you may already have tucked away in the shed.
The whole idea is straightforward. You use a hard abrasive, understand which part of the drill actually does the cutting, and then hone the flank in a controlled way so the cutting lip becomes sharp again while keeping the right relief behind it.
For smaller twist drills, this is quick, practical, and handy if you are out in the workshop, out on site, or simply cannot be bothered firing up a grinder for a five-minute job.
What you need to sharpen a drill bit by hand
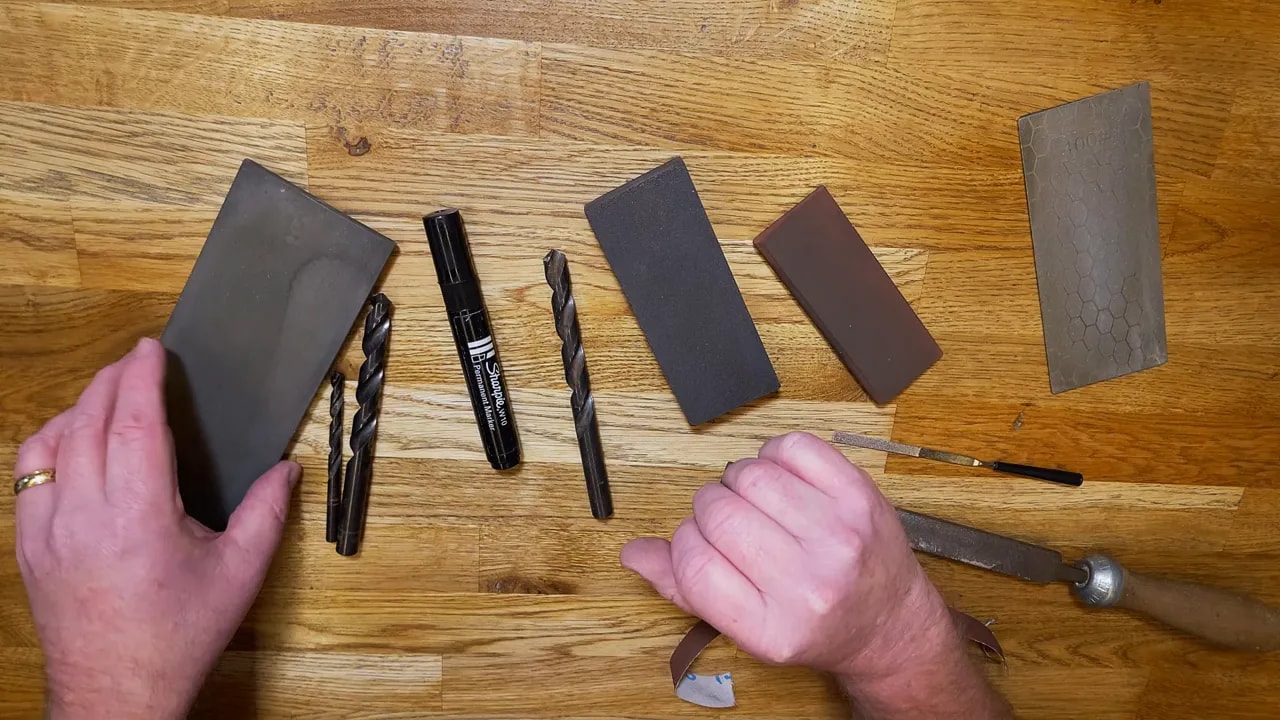
To understand how to sharpen a drill bit this way, the first thing to know is that you are dealing with high-speed steel, or HSS. That means an ordinary file is generally no use at all. It simply is not hard enough to remove material effectively.
What you need is an abrasive that is harder than the drill bit. If it can cut HSS, you are in business.
Suitable options
- A file wrapped in aluminium oxide abrasive paper. This works in a pinch and gives you a sort of improvised hard file.
- A diamond file. Perfectly usable, though a very coarse one can be a bit aggressive.
- A whetstone. That is whet stone, not a soaking wet stone. You do not have to use it wet.
- A slipstone. Also suitable if it is a tough enough abrasive.
- A diamond plate or diamond stone. This is the preferred option here because it is flat, rigid, and easy to control.
A diamond plate is especially nice because it behaves a bit like a very hard, very flat file. It helps you keep things under control, and that matters when you are trying to preserve the geometry of the point rather than just attacking it blindly.
You do not need an expensive one either. A cheaper diamond plate from a budget set will do the job well enough for this kind of honing.
Before you start: what part of the drill actually needs sharpening?
If you are learning how to sharpen a drill bit, this is the part worth getting straight in your head before you touch an abrasive.
There are two key features to think about:
- The cutting lip
- The flank
The cutting lip
The cutting lip is the edge at the front of the drill that actually cuts the material. That edge needs to be straight and sharp. Not razor-blade sharp in the shaving-your-arm-hair sense, but a proper clean edge with no rounding over.
A few tiny dings or chips are not the end of the world if all you want is a serviceable drill bit again. The aim here is practical sharpness, not museum-quality perfection.
The flank
The flank is the surface immediately behind the cutting lip. This is important because it needs to slope away from the lip. That slope creates what is called relief.
Without relief, the drill will rub instead of cutting. And if it rubs, it gets hot, goes dull, makes a horrible mess of the job, and generally behaves like a sulky teenager.
So when sharpening, you are not just trying to make the edge shiny. You are trying to preserve the correct shape so the cutting lip remains the highest point and the flank falls away behind it.
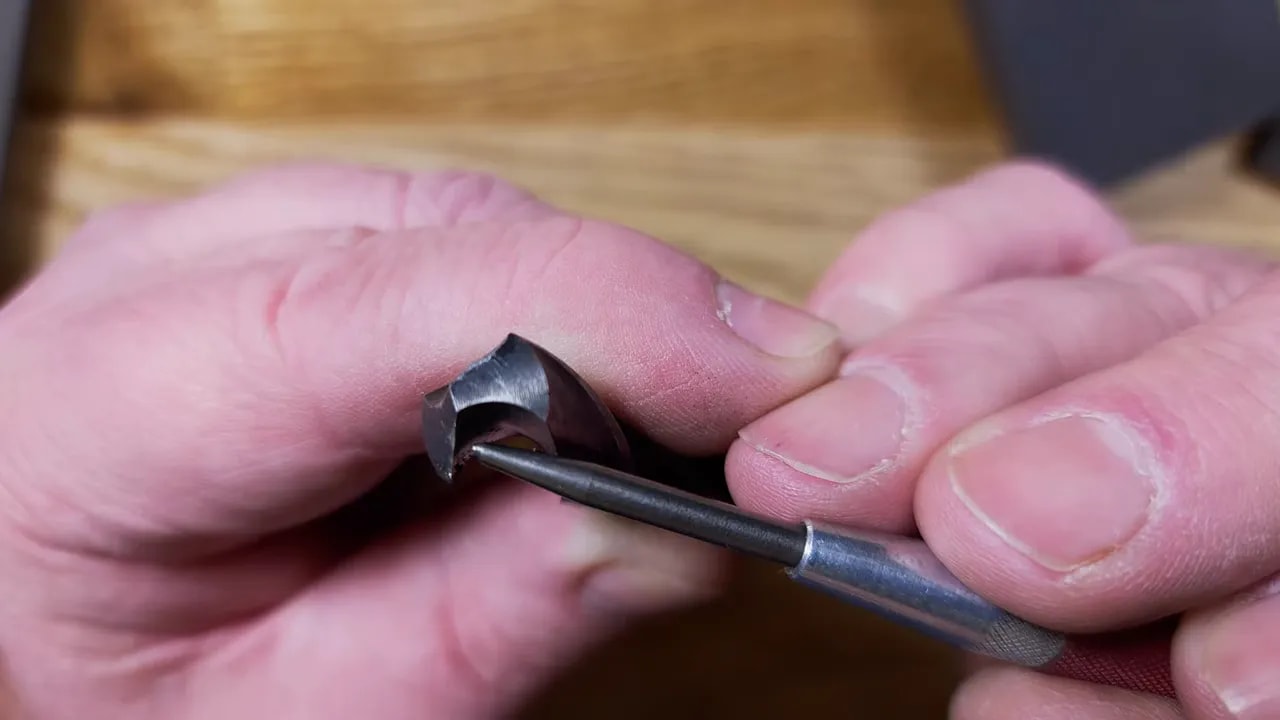
The shape you are trying to create
When working out how to sharpen a drill bit by hand, picture the abrasive starting at the back of the flank and moving toward the cutting edge while gently rolling over the contour.
The important bit is this:
- Start at the back of the flank.
- Follow the existing contour.
- Round over as you go.
- Do not roll so far that you go past flat and start filing downward into the cutting lip.
If you go beyond level, you blunt the edge again. That rather defeats the point.
You want to stop while the abrasive is still slightly “up” relative to the cutting lip so that the relief is maintained.
When this method works, and when it doesn’t
This is an excellent quick hone for ordinary workshop use, but it does have limits.
Best drill sizes for this method
This hand method is most suitable for drills roughly in the range of:
- 3 mm to 9 mm
- Or about 1/8 inch to 3/8 inch
You can do a larger drill, but it gets slower and less convenient. The demonstration uses a 12 mm or half-inch drill simply because it is easier to see what is happening on a bigger bit. In practice, smaller drills are where this technique really comes into its own.
When you should use a grinder instead
If the bit is badly damaged, this is not the method.
For example, if a cutting lip is heavily chipped, the flute is damaged, or there is a great chunk missing off the side, you really want a grinder. Trying to fix that sort of damage entirely by hand is possible in the same way digging a swimming pool with a teaspoon is possible.
So this method is for a drill that is:
- dull
- rubbing rather than cutting
- still fundamentally in good condition
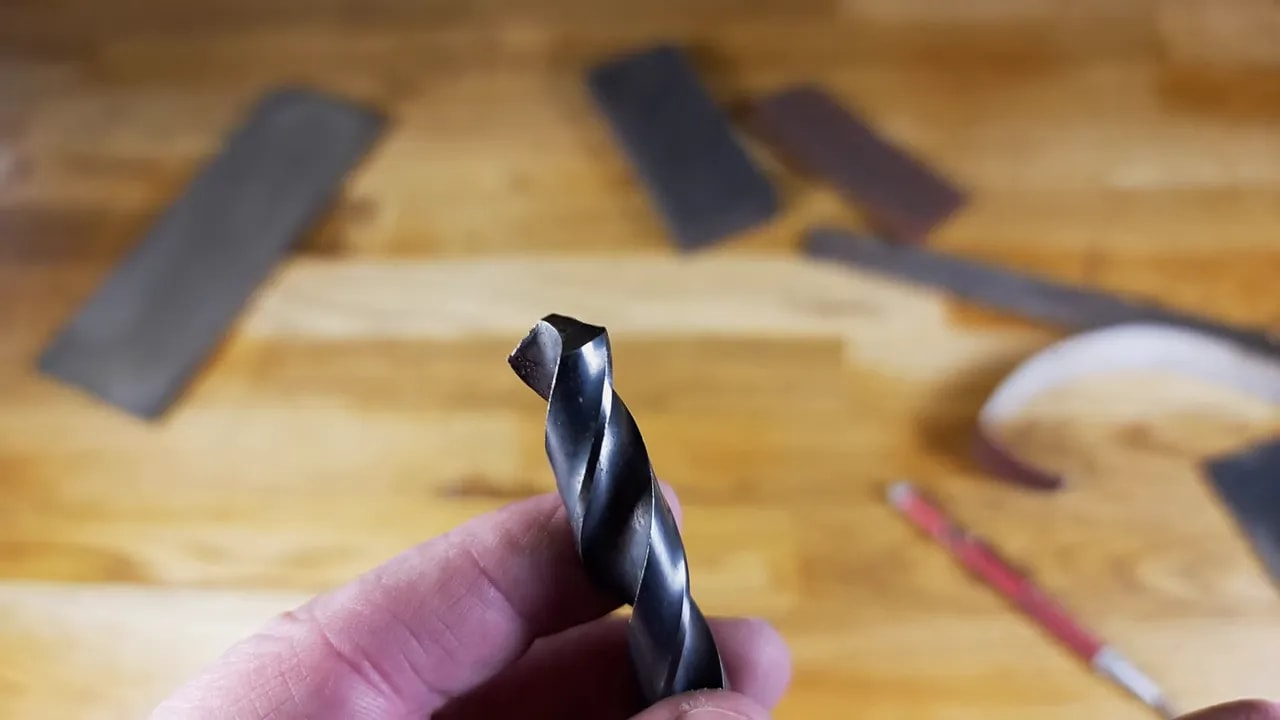
How to sharpen a drill bit in a vice
Now for the actual process.
1. Clamp the drill so the cutting lip is aligned properly
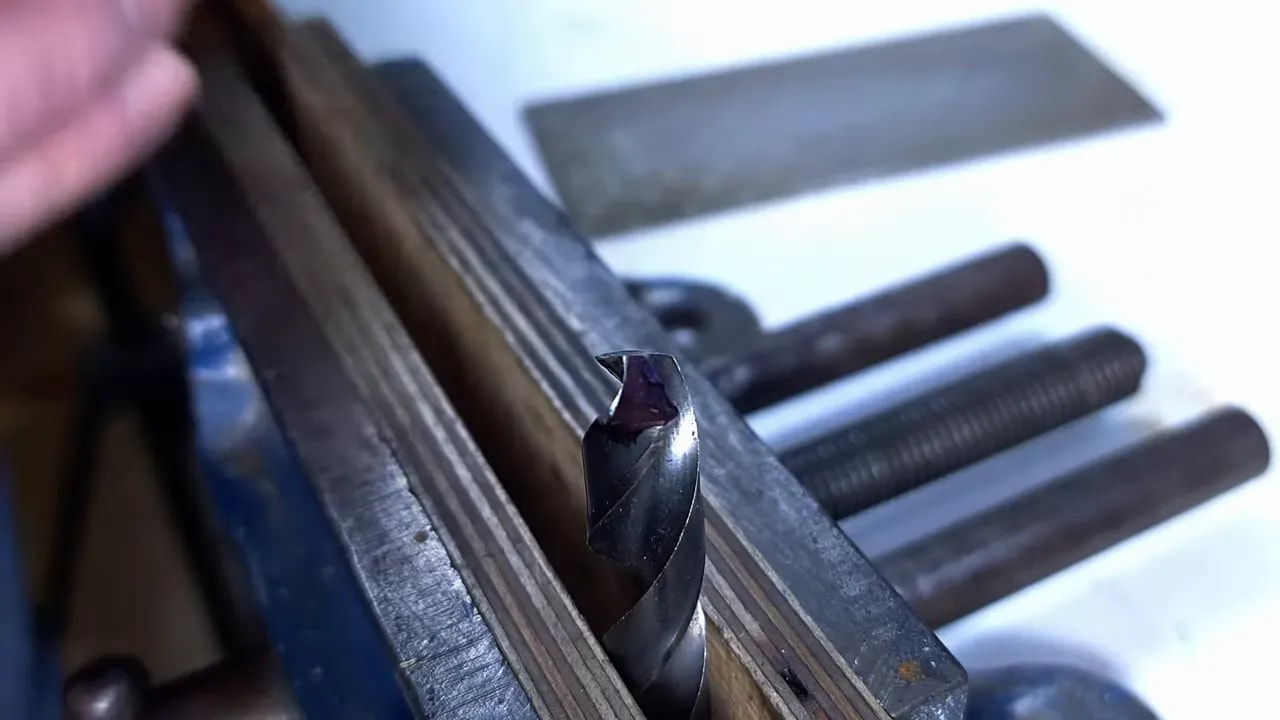
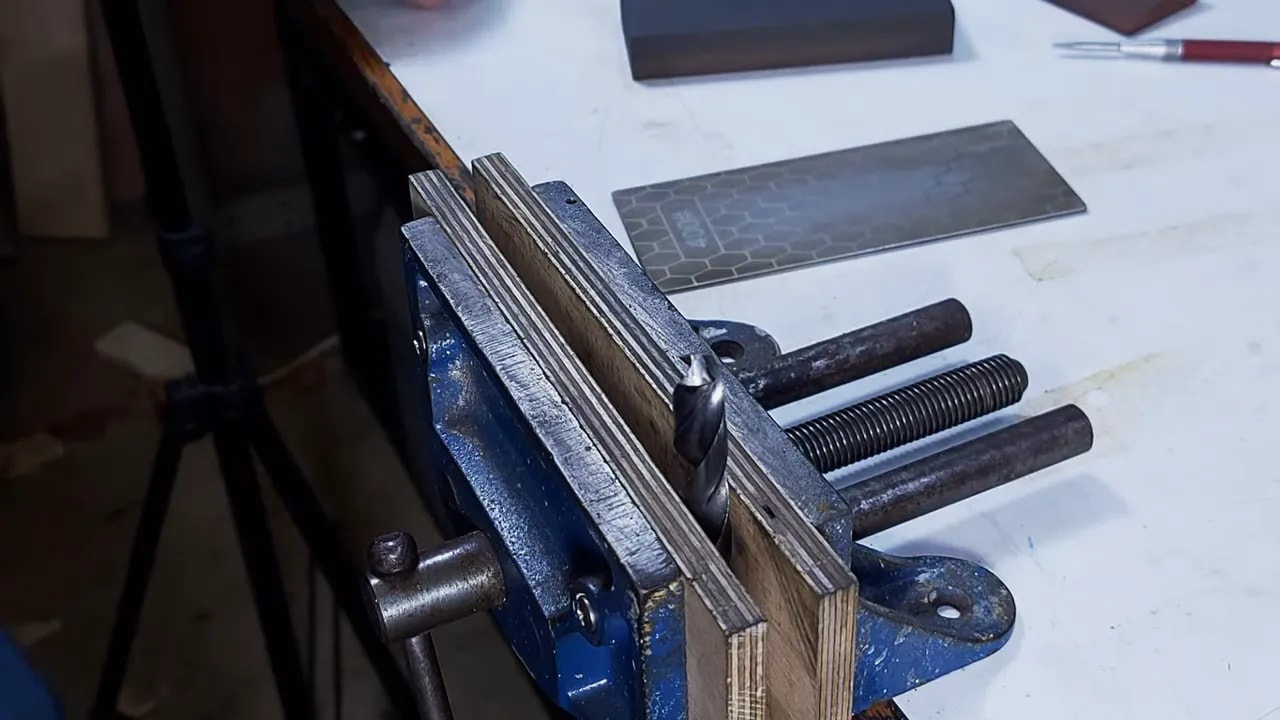
Put the drill in a vice and arrange it so that the cutting lip is parallel with the jaws of the vice. This gives you a clear reference and makes it much easier to move the abrasive in the right plane.
That alignment matters. If the lip is not presented squarely, it is harder to judge what you are doing and easier to spoil the geometry.
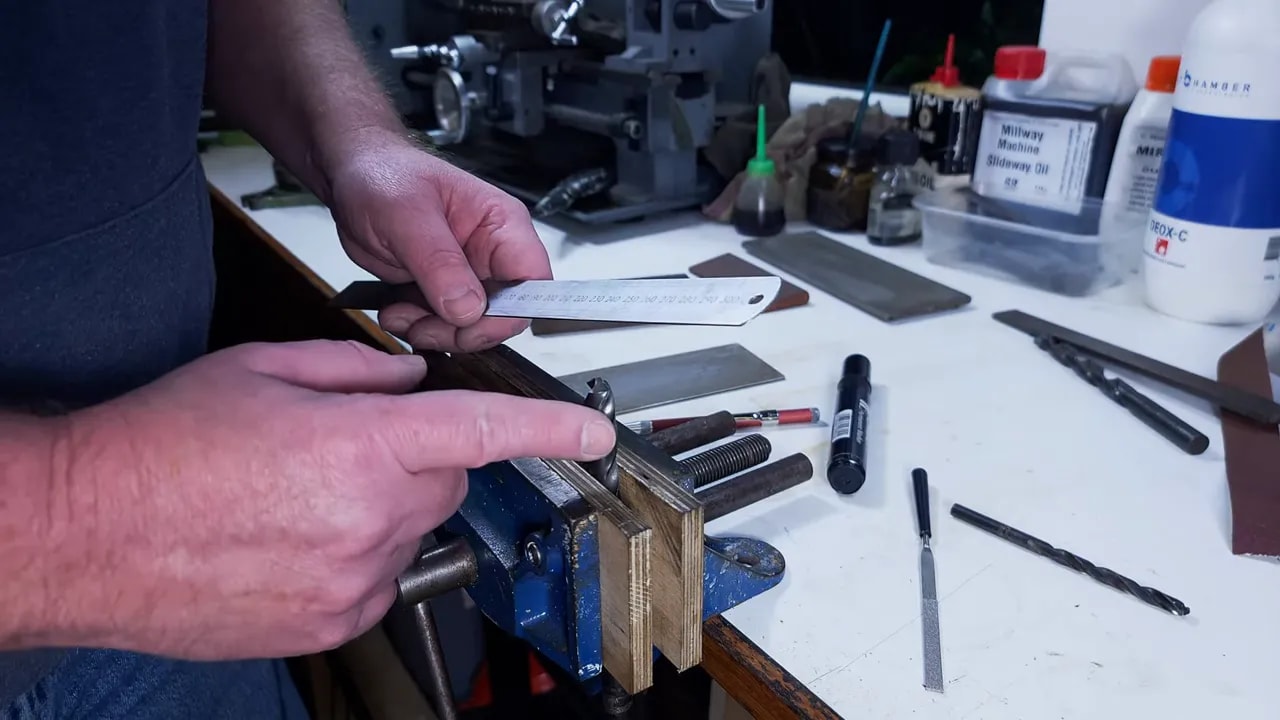
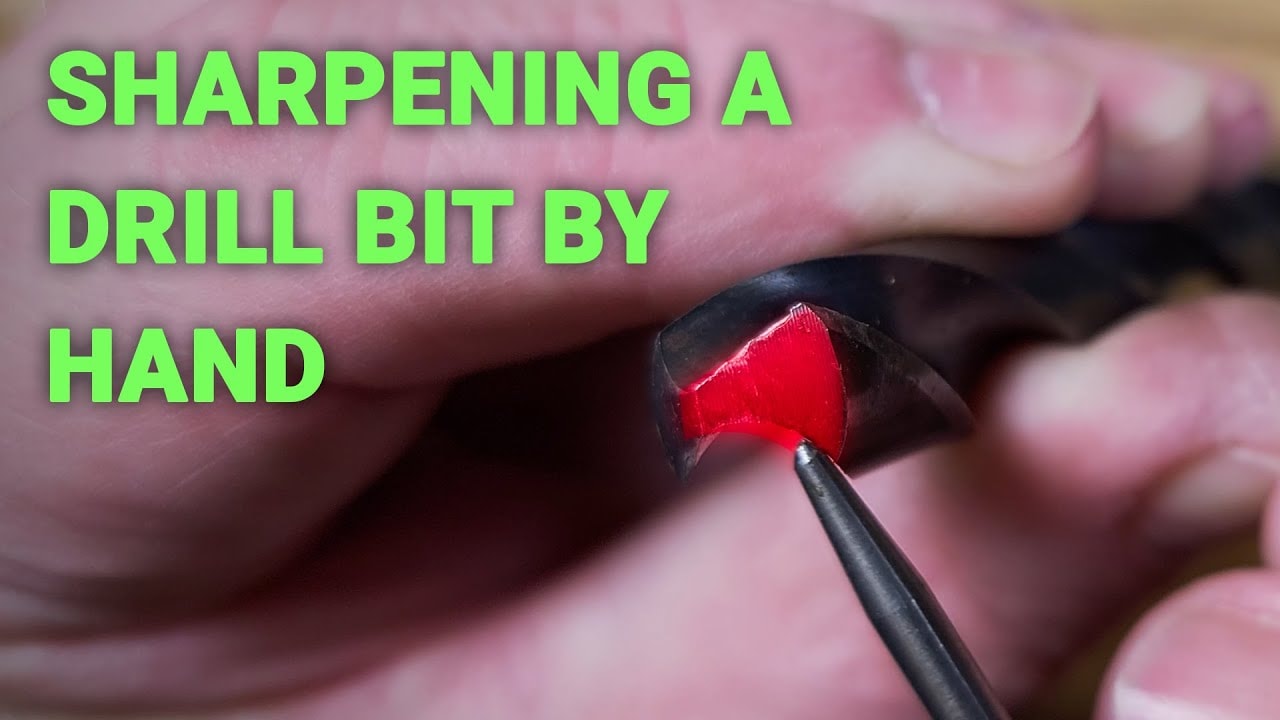
2. Mark the end with a Sharpie
Colour the end of the drill with a marker pen.
This is a lovely simple trick because it gives you instant feedback. As the abrasive starts removing material, you can see exactly where it is cutting and whether you are staying flat on the flank or leaning off to one side.
When you are hand sharpening, feedback is half the battle.
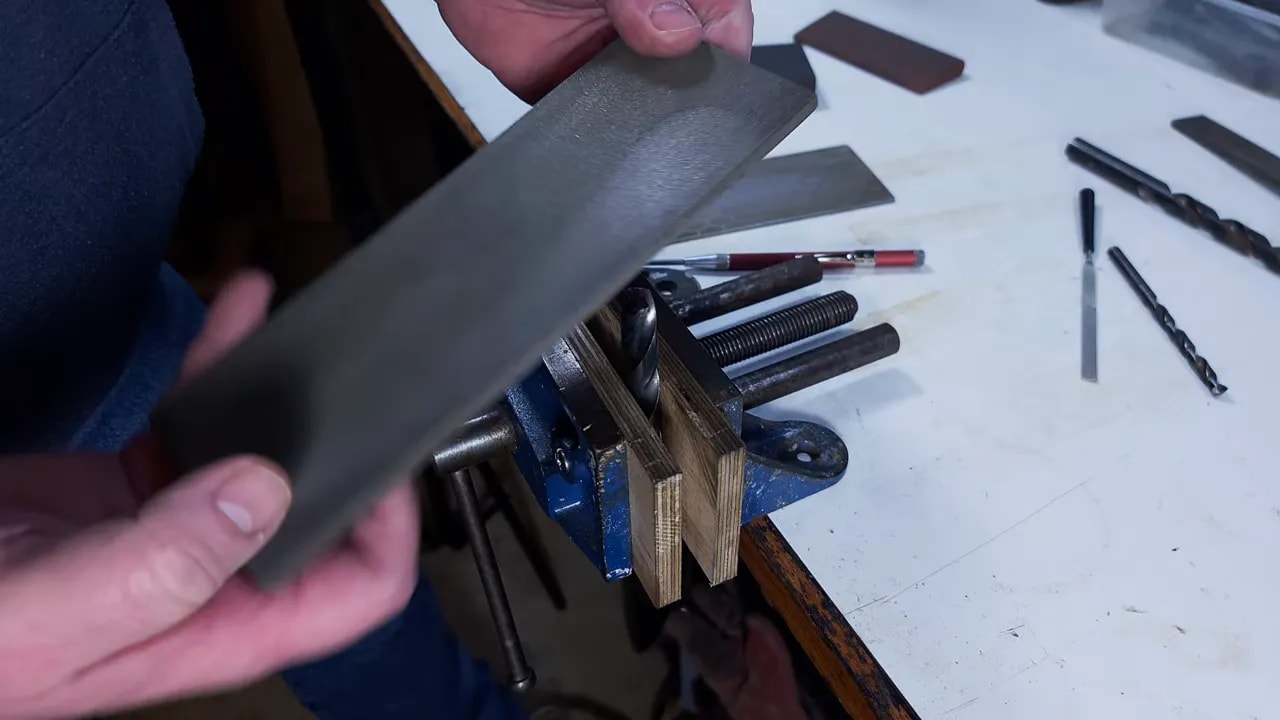
3. Use the diamond plate like a file
Take the diamond plate and use it as though it were a file.
Start at the back of the flank and sweep along the face, following the contour toward the cutting lip. As you move, gently roll the plate over with the shape of the flank.
The motion is controlled and light. You are not trying to remove half the drill bit. You are honing the face back into useful shape.
4. Watch where the ink disappears
At first, you want the abrasive to touch the back of the flank. A bright silver patch should appear there first.
Then, with repeated strokes, that bright area gradually works its way toward the cutting lip.
This is exactly what you want. If the Sharpie vanishes first at the front edge, your angle is wrong and you risk rounding over the lip.
The goal is for the silver area to creep forward until there is only a tiny line of marker left at the cutting edge, and then just enough more to sharpen that edge without destroying the relief behind it.
5. Do not go beyond level
This is the key caution in the whole process.
As you sweep the plate over the flank, do not continue past level and start filing downward. If you do, you will simply blunt the cutting lip you are trying to restore.
Always stop while still preserving that slight relief angle behind the edge.
6. Keep going until the edge is refreshed
On the larger demonstration drill, this takes a bit of time. On smaller drills, it is much quicker.
Once the marker is nearly gone and the flank is uniformly bright right up to the lip, the edge will have sharpened itself as part of that process.
What the finished result should look like
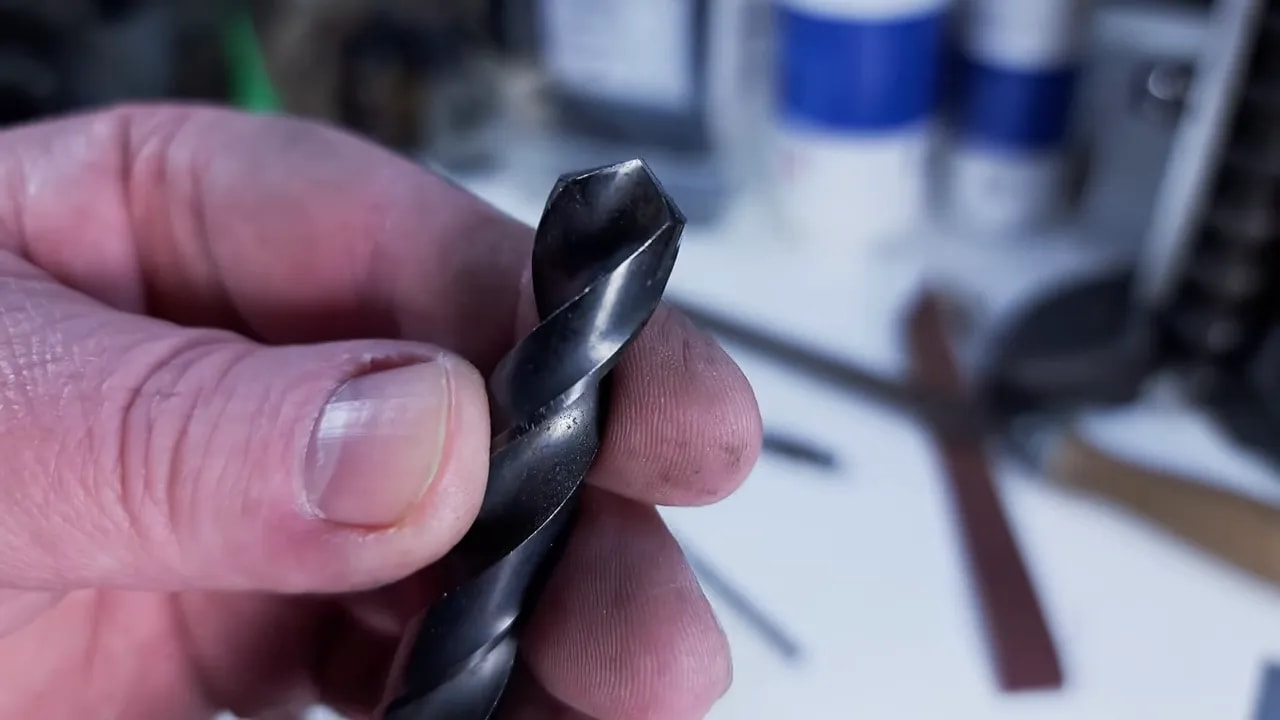
When you are done, the sharpened area should be clean and bright, and the cutting lip should be sharper than it was before. If the drill had a few little dings to begin with, they may still be there, and that is fine if the bit is now capable of cutting properly again.
This is not about producing a perfect factory regrind by hand. It is about making the drill useful again.
If the lip still has obvious chips or damage after honing, then it needs either more work or a trip to the grinder.
A few practical notes
- Smaller drills are easier with this method than large ones.
- A flat abrasive helps because it gives more control and is less likely to round things over.
- Abrasive paper on a file works, but it is easier to soften edges accidentally.
- Cheap diamond plates are perfectly usable for this sort of workshop sharpening.
- This is a quick hone, not major surgery.
Why this method is worth knowing
Knowing how to sharpen a drill bit by hand is one of those handy little shop skills that saves time, saves bother, and keeps a job moving.
Sometimes you do not want to set up a grinder. Sometimes you do not have one. Sometimes you are away from the mains and just need a drill bit to stop polishing the work and start cutting it.
For that sort of thing, this method is ideal. It is simple, cheap, and practical. Very much a bit of battlefield mechanics for the home workshop.
Final thoughts on how to sharpen a drill bit by hand
If you have been wondering how to sharpen a drill bit without power tools, the trick is not brute force. It is understanding the geometry, using an abrasive that can actually cut HSS, and working the flank carefully so the cutting lip regains a clean edge with relief behind it.
Done properly, it can bring a tired drill bit back to life in short order and save you reaching for a new one unnecessarily.
Not bad for a method that only needs a vice, a marker pen, and a bit of workshop common sense.